
Step 1 / 7
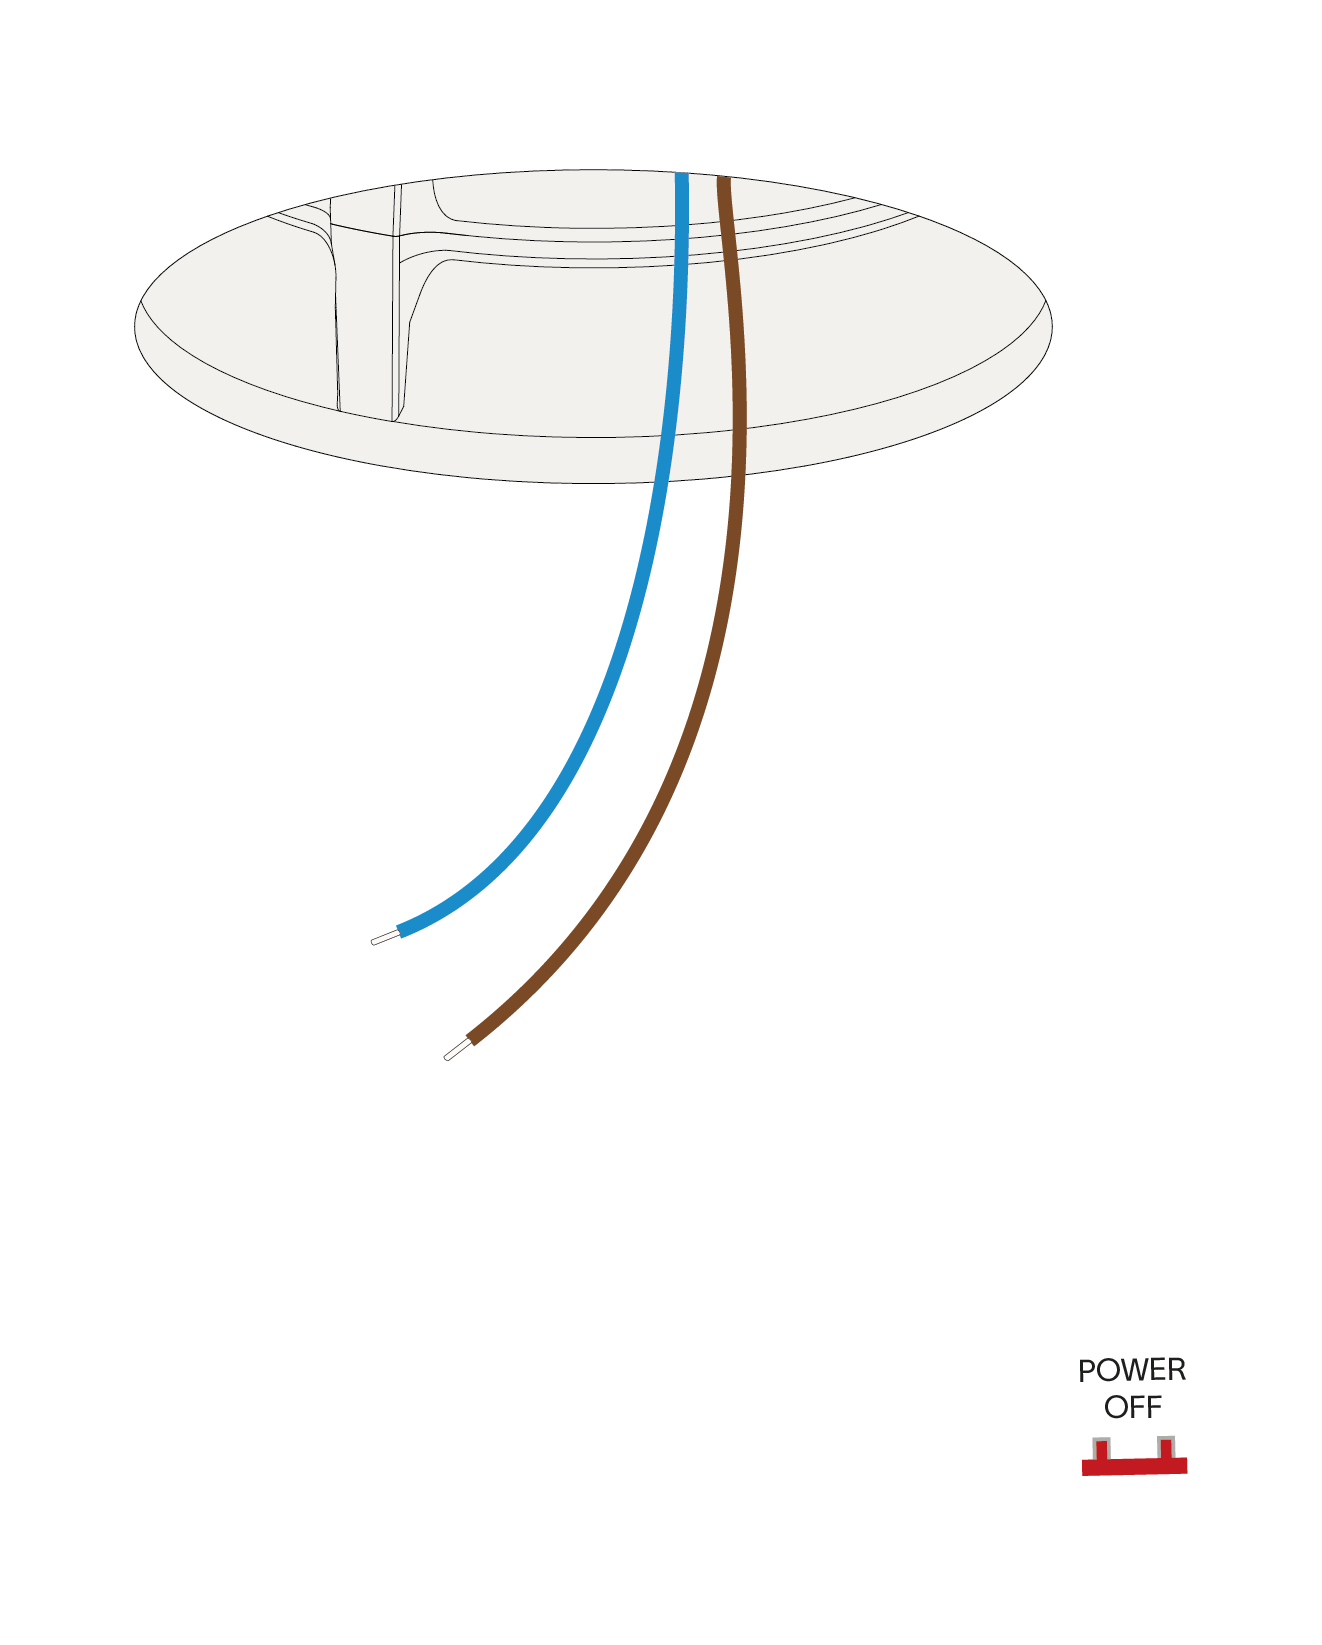
Turn off the power before starting.
Step 2 / 7
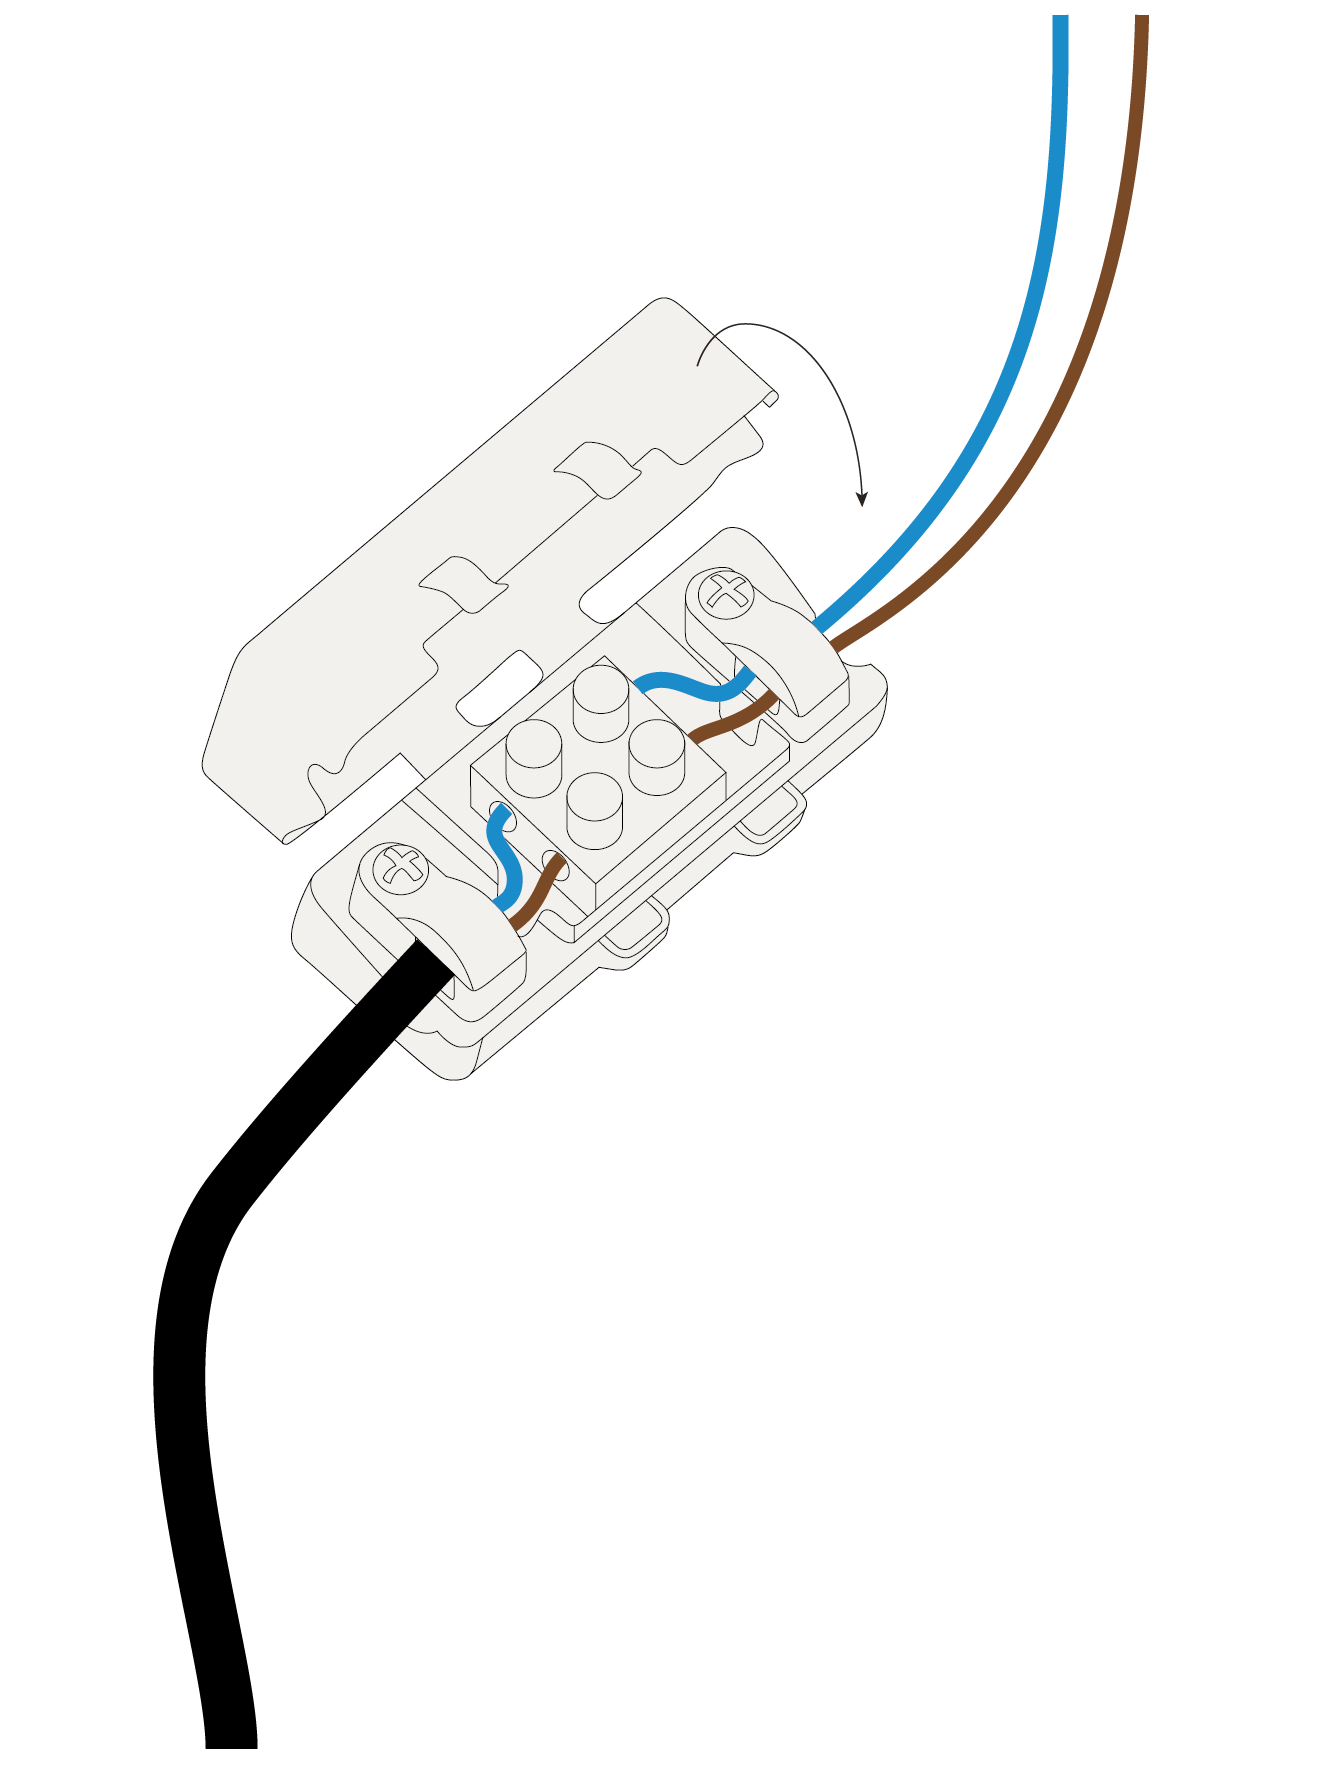
Connect the 230V wires with the terminal block and close the block.
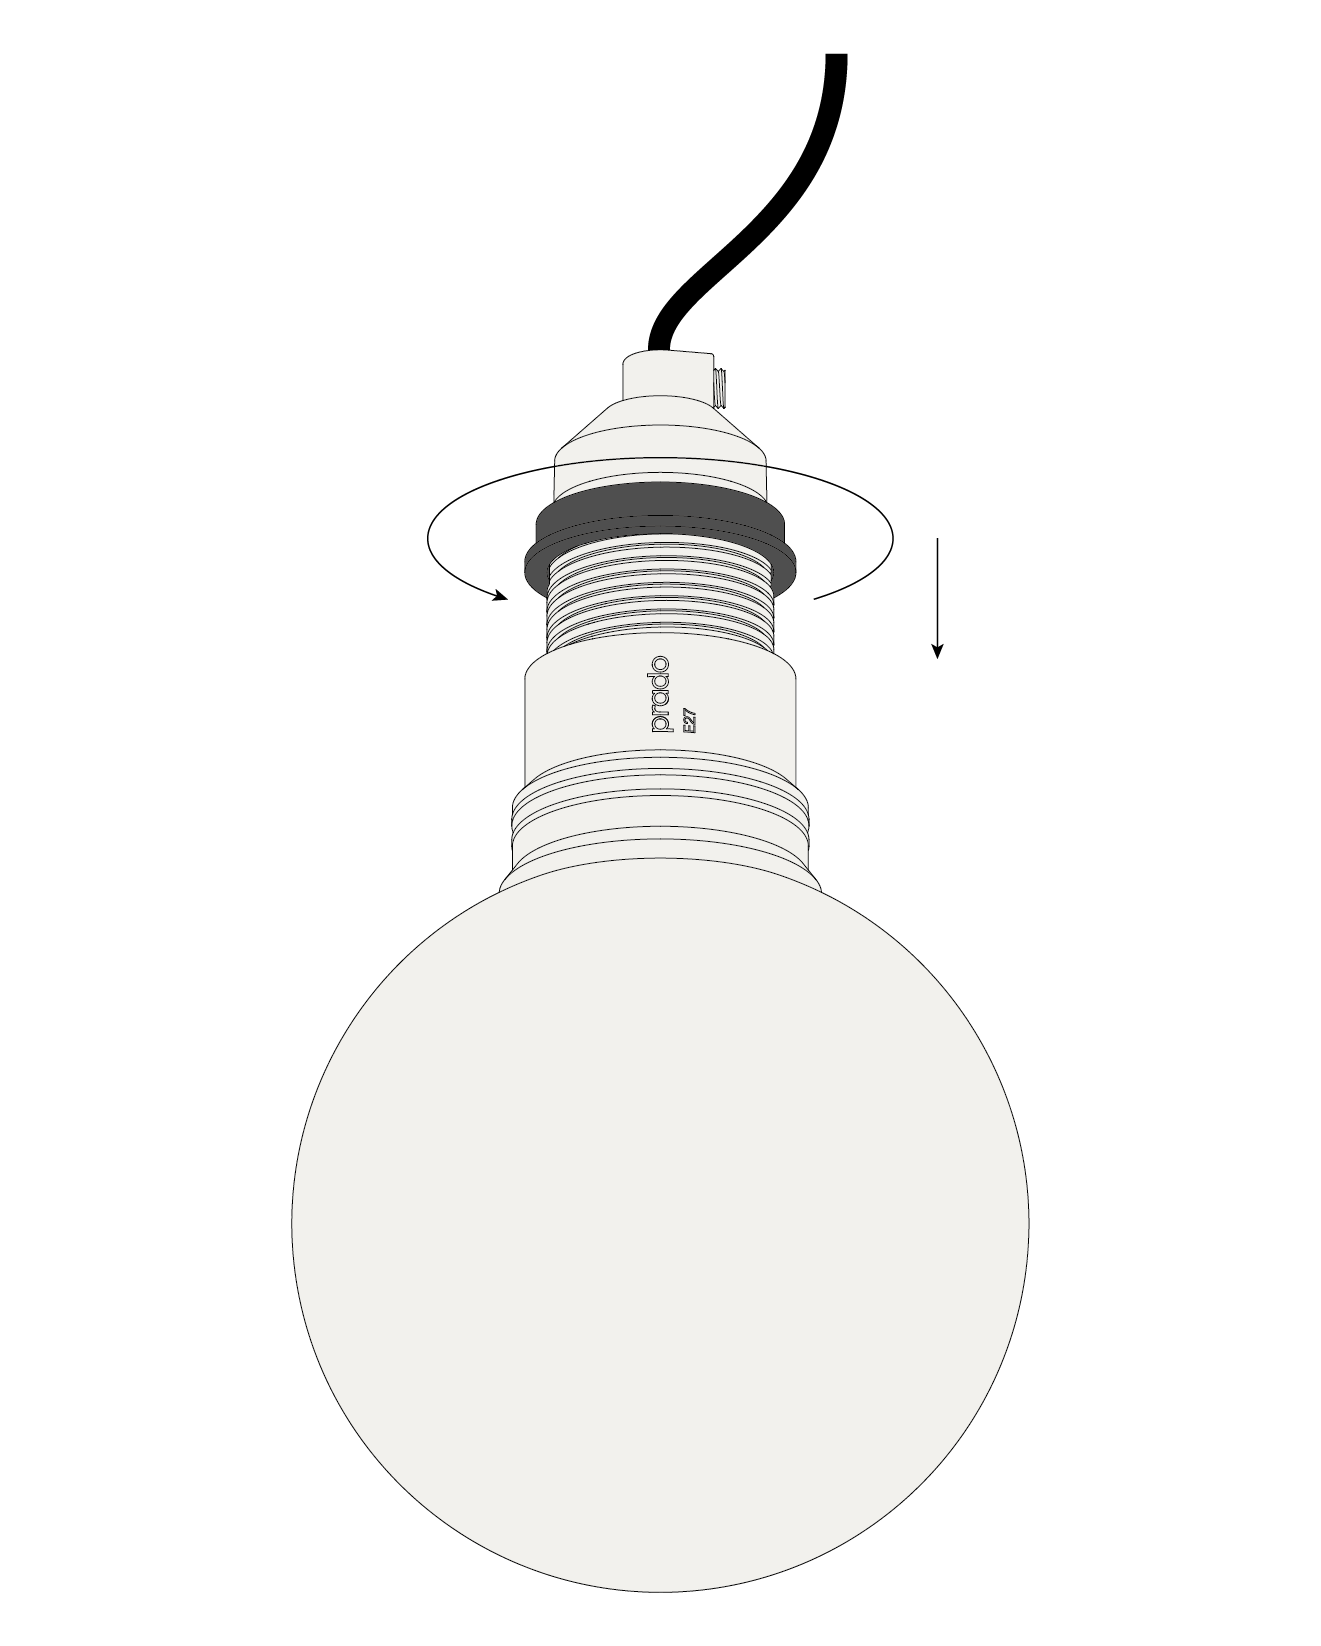
Step 3 / 7
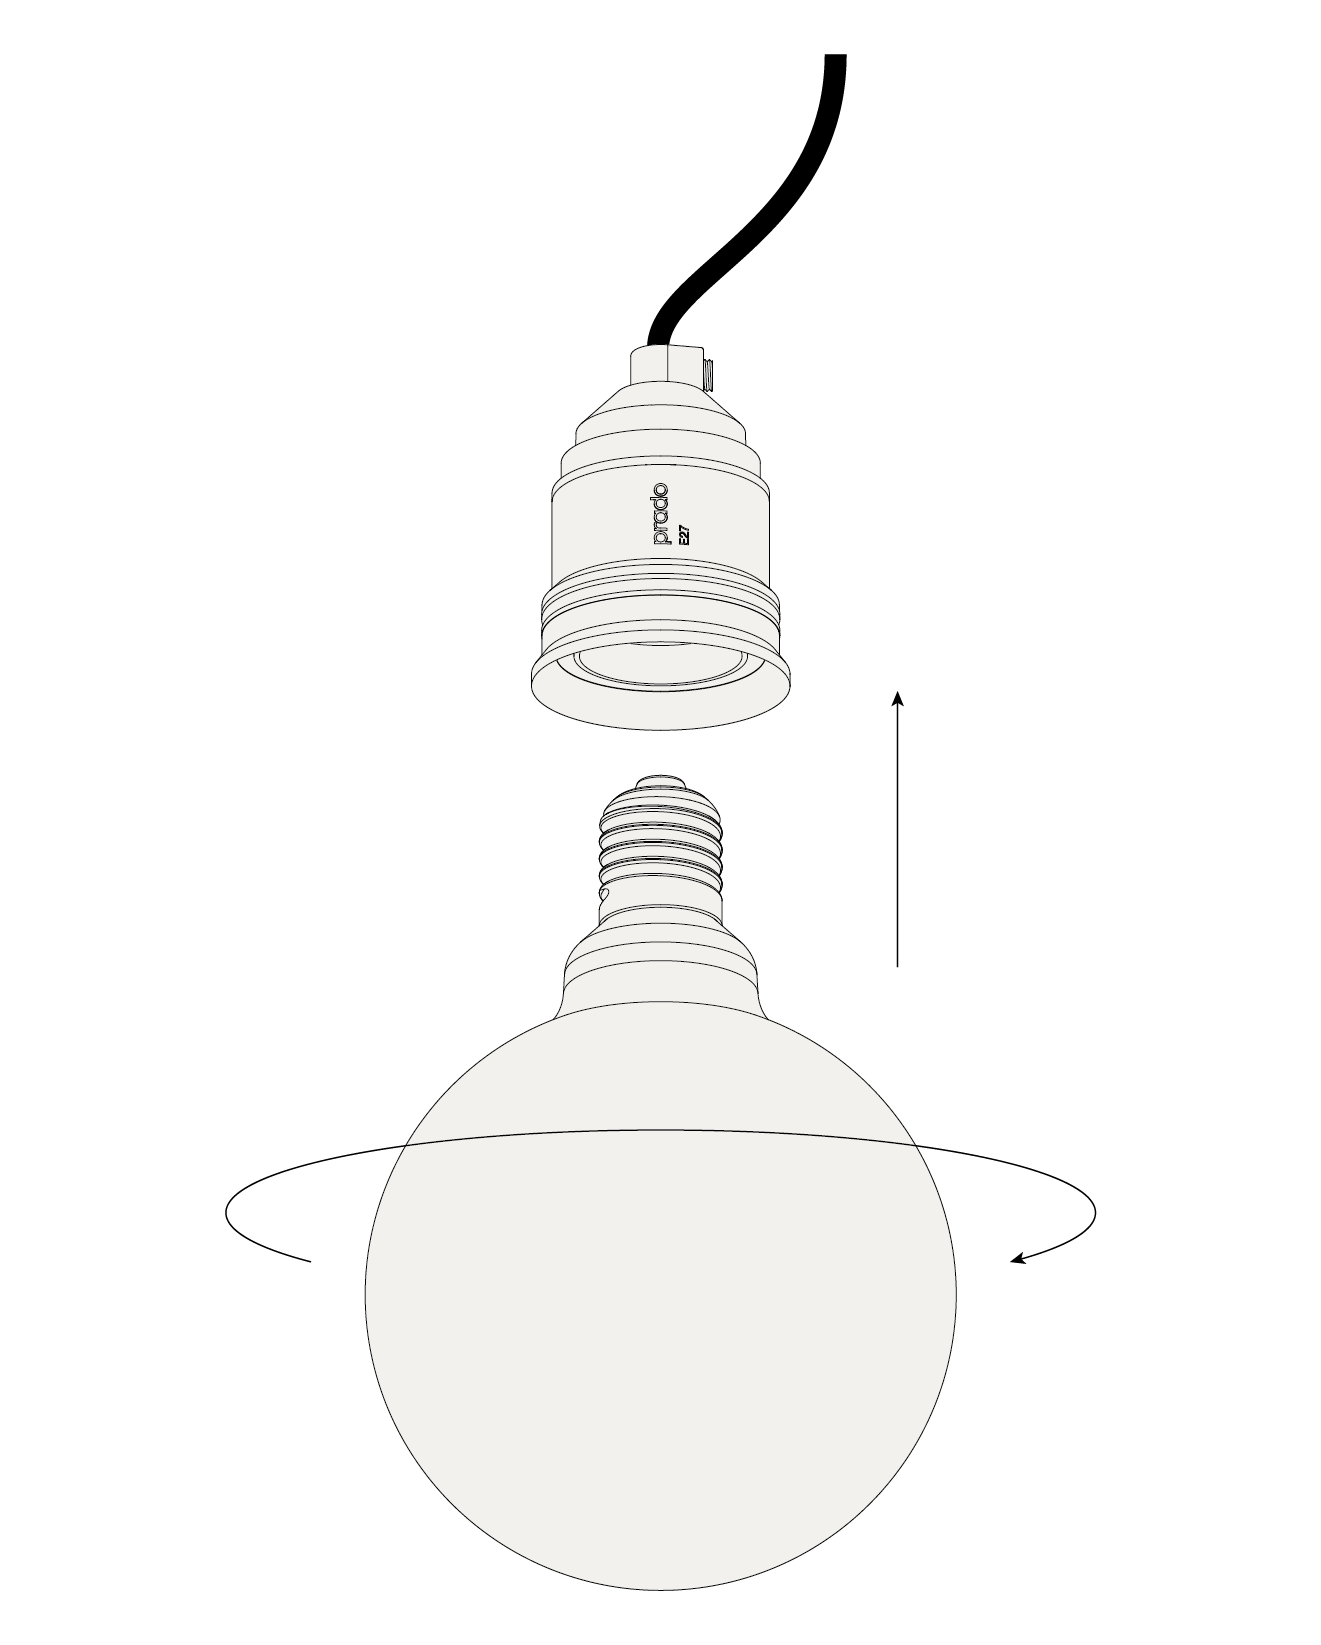
Screw the light bulb into the prado invisible E27 socket.
Step 4 / 7
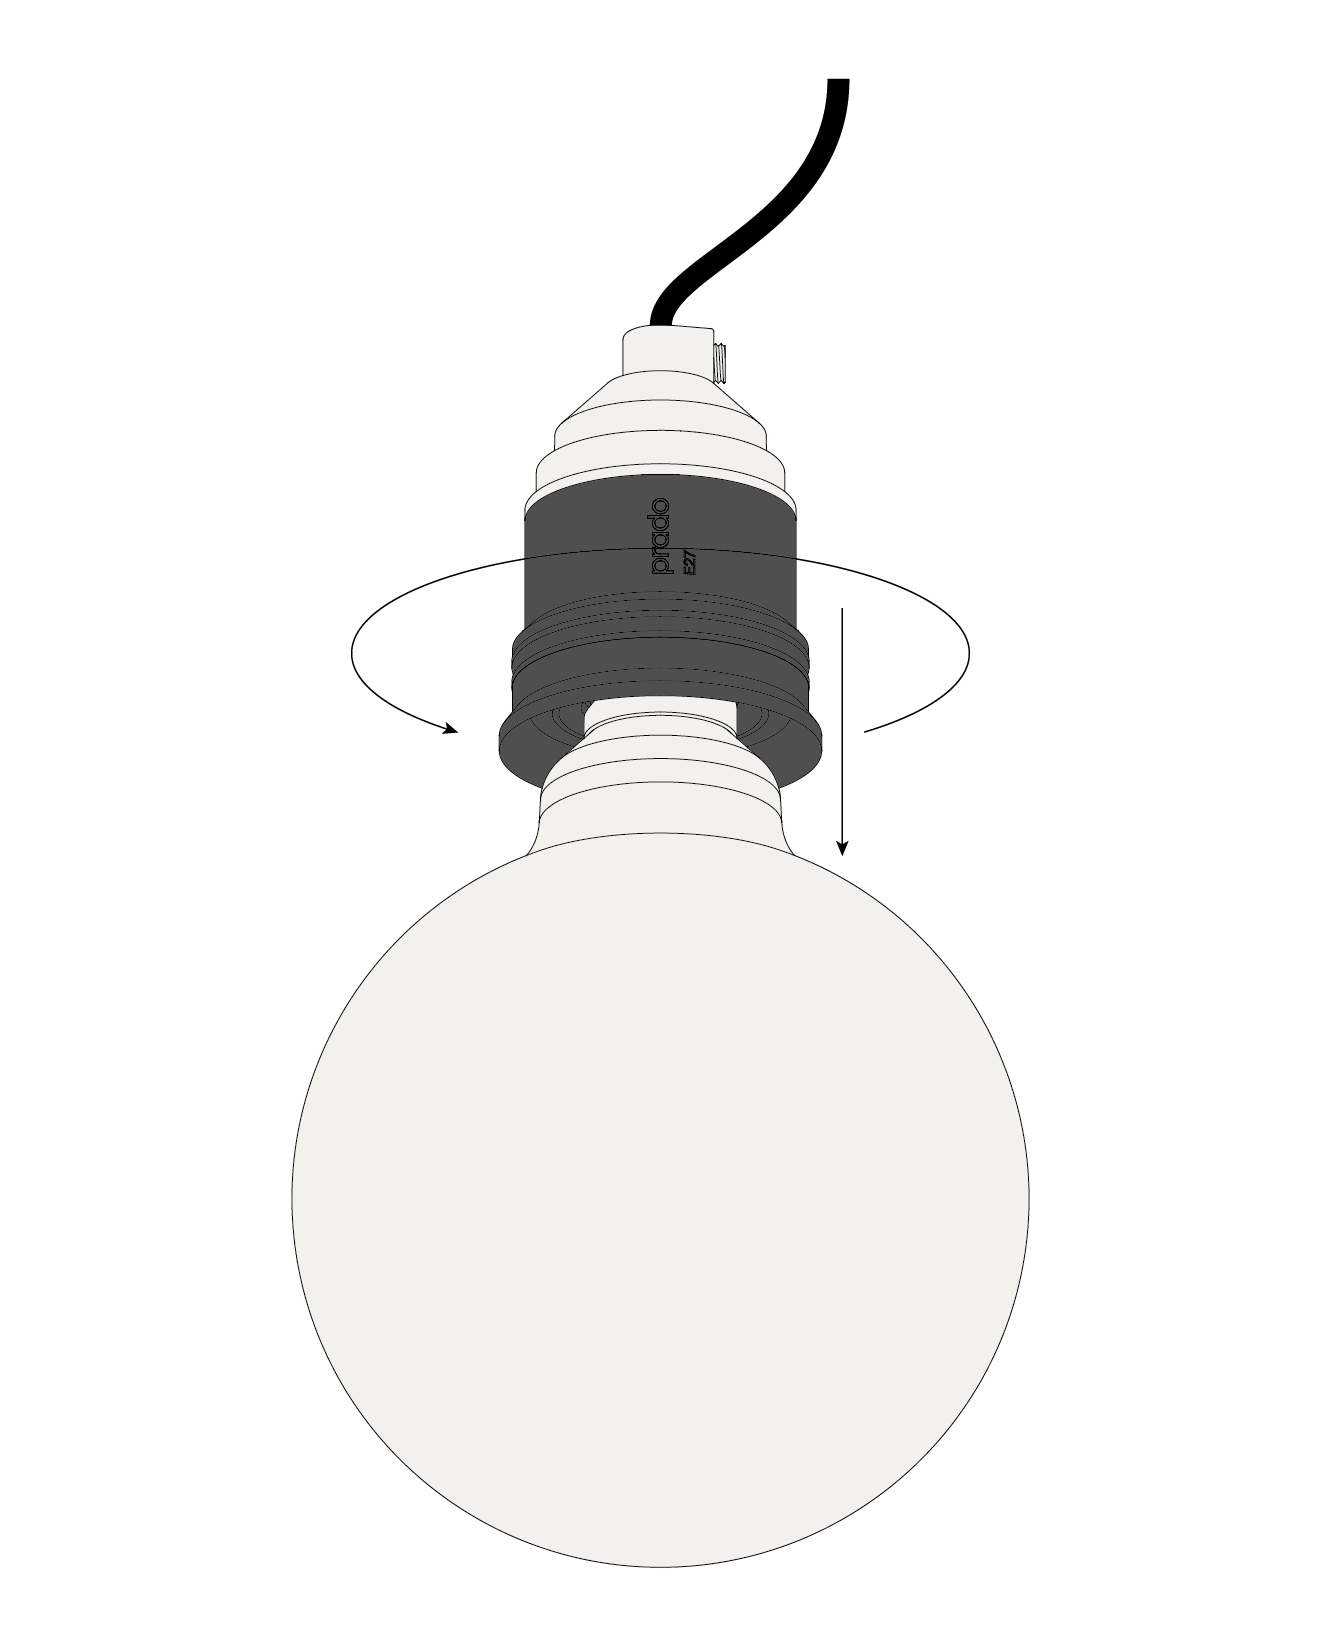
Gently screw the first ring towards the light bulb.
Step 5 / 7
Lock the first ring with the second ring.
Step 6 / 7
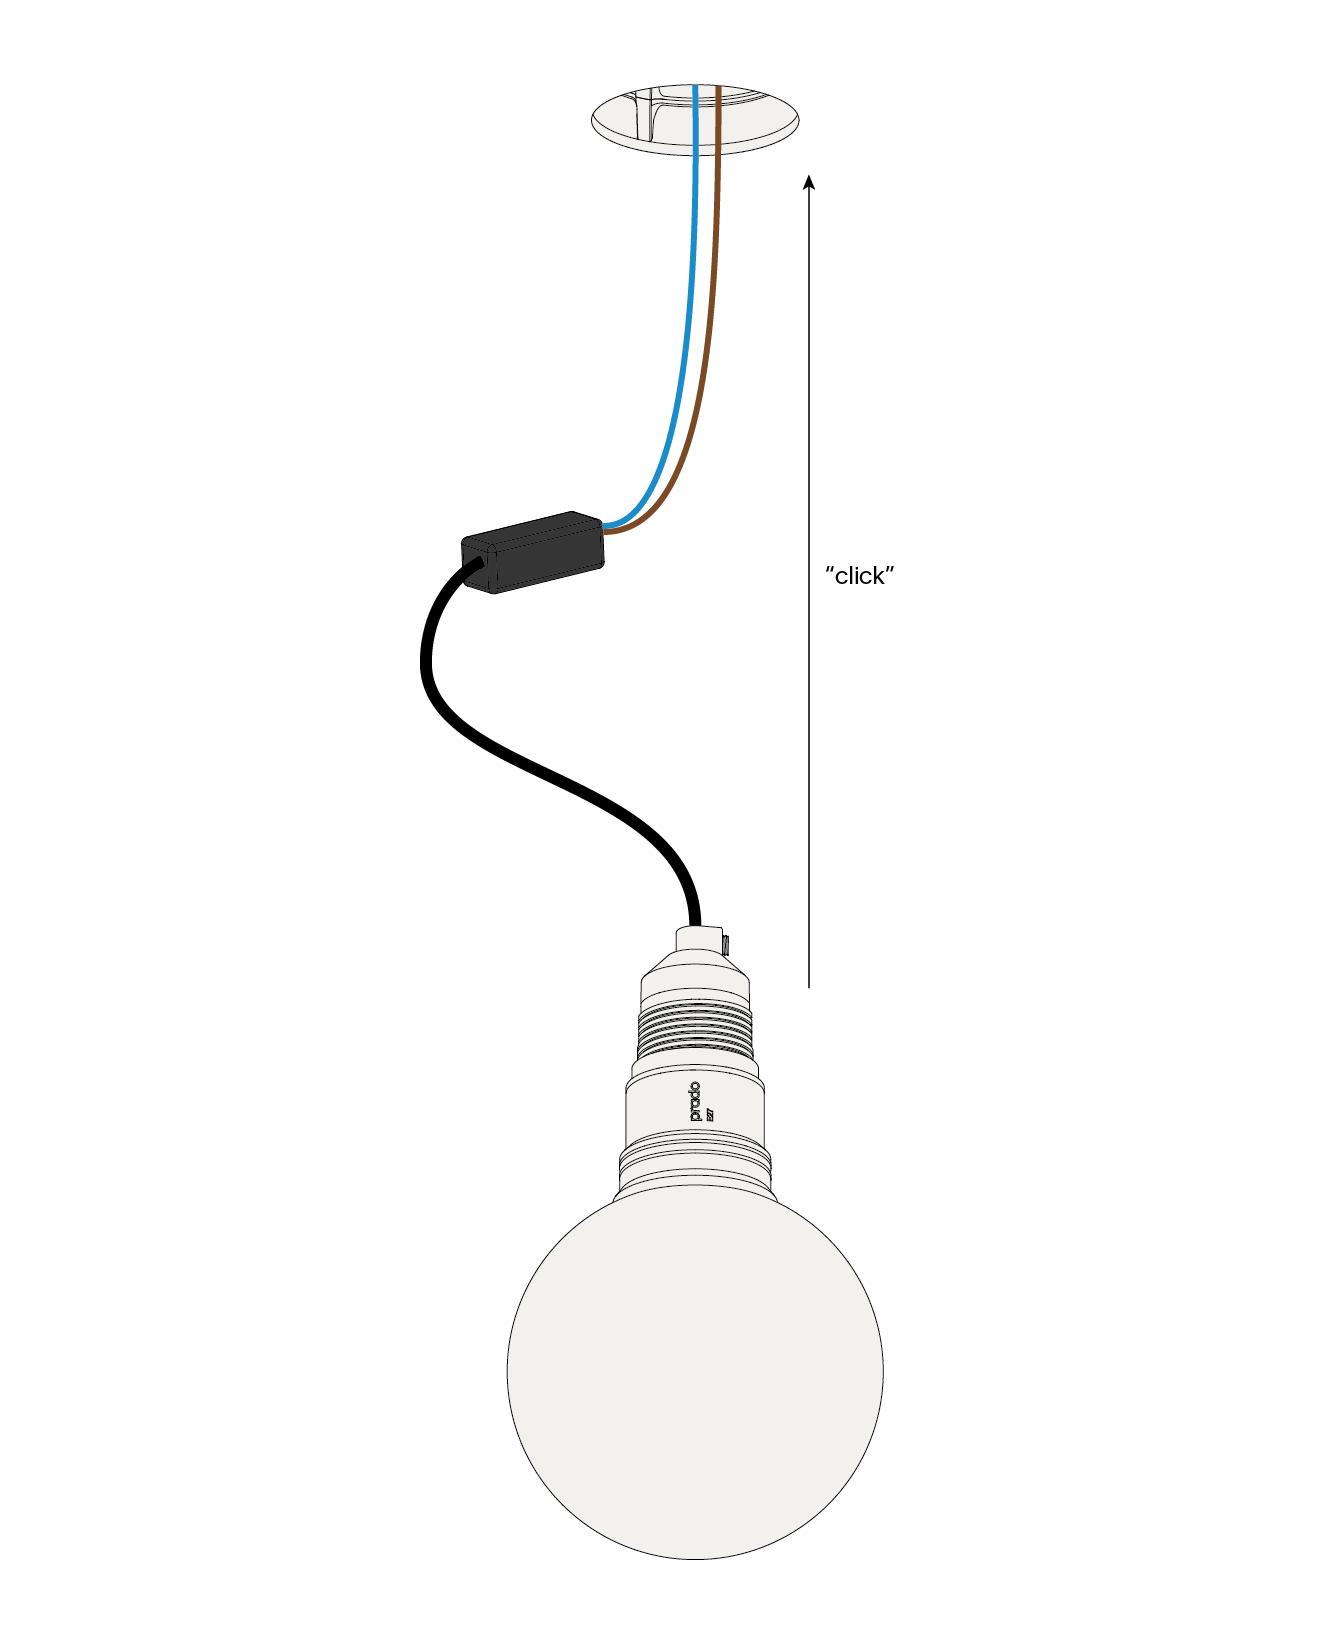
Click the luminaire into the plaster ring.
Step 7 / 7
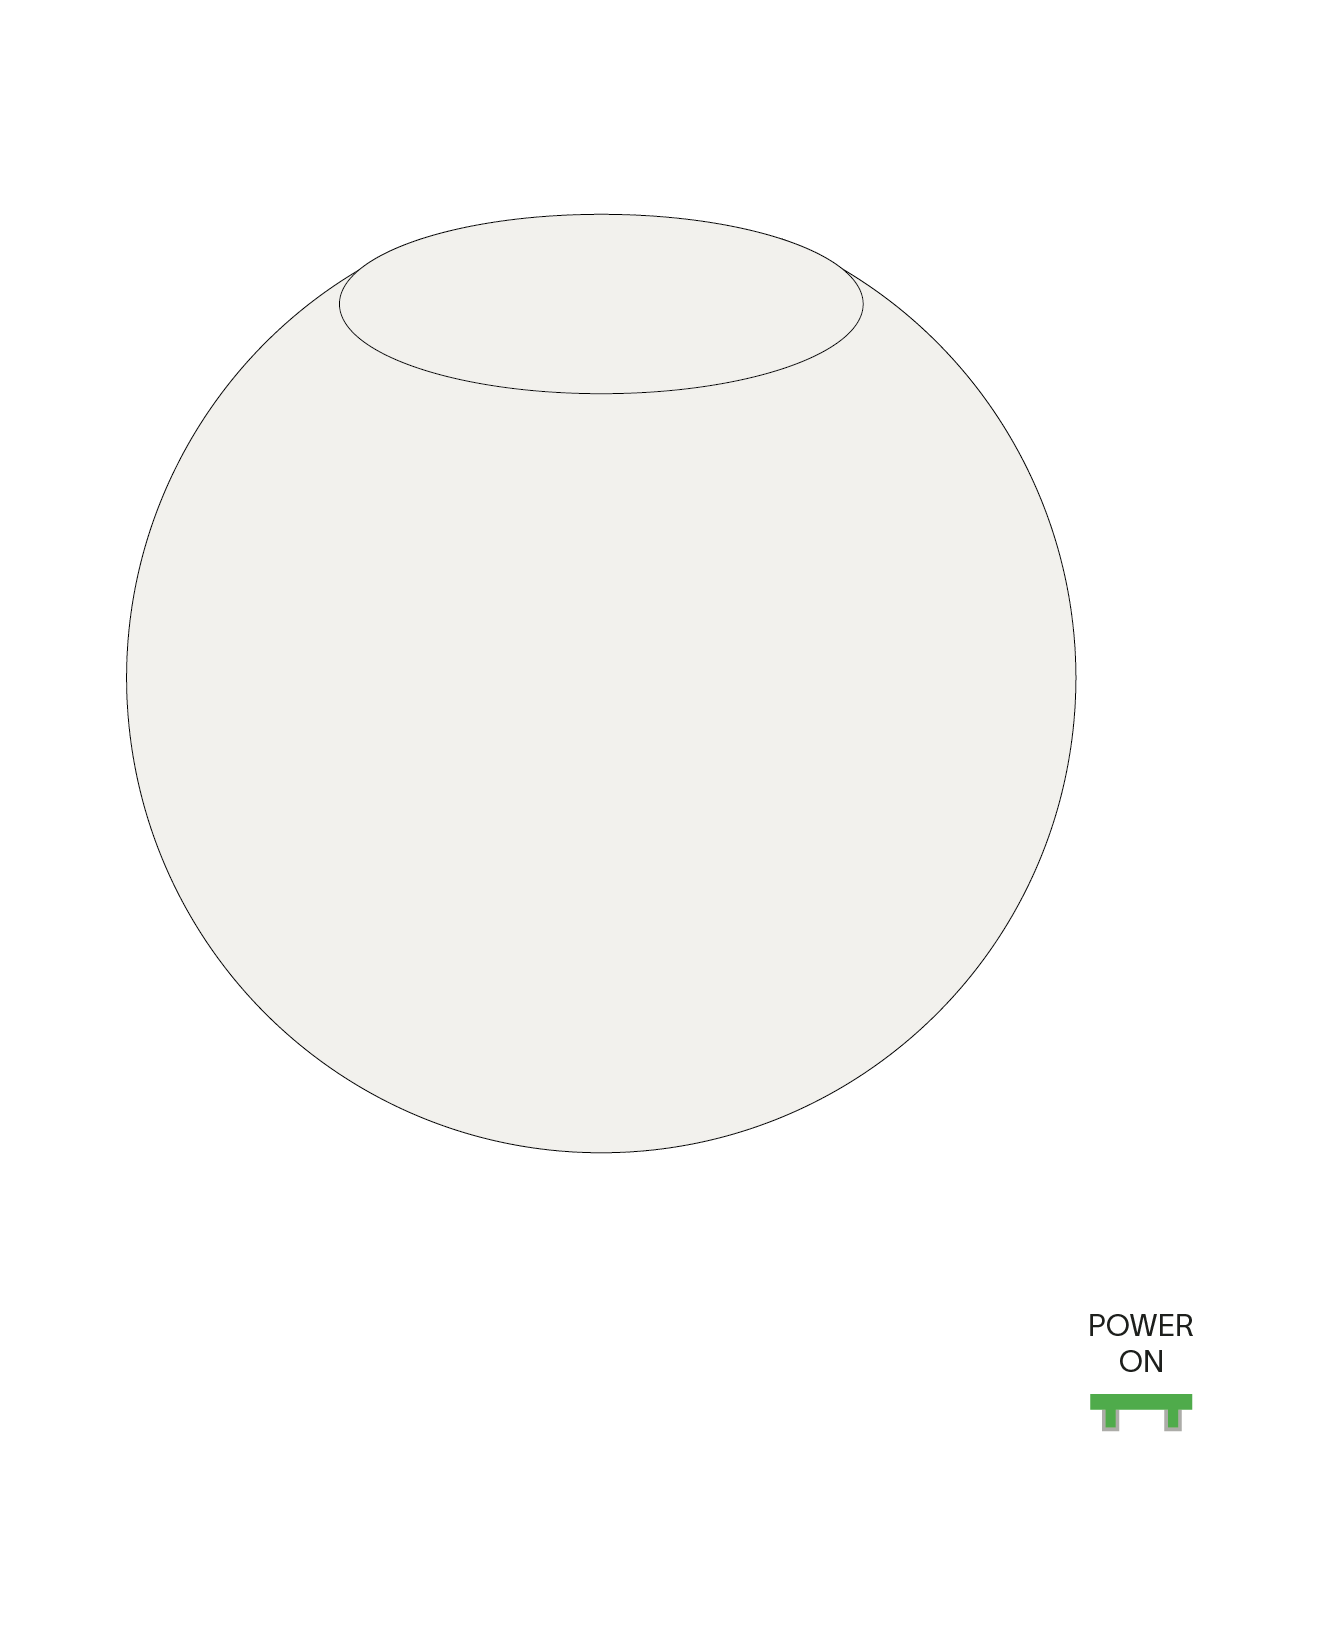
Turn power back on.


The light source in this luminaire shall only be replaced by the manufacturer or a similar qualified person. Warranty will not apply in case of wrongful use or if unskilled personnel attempts to repair the product.