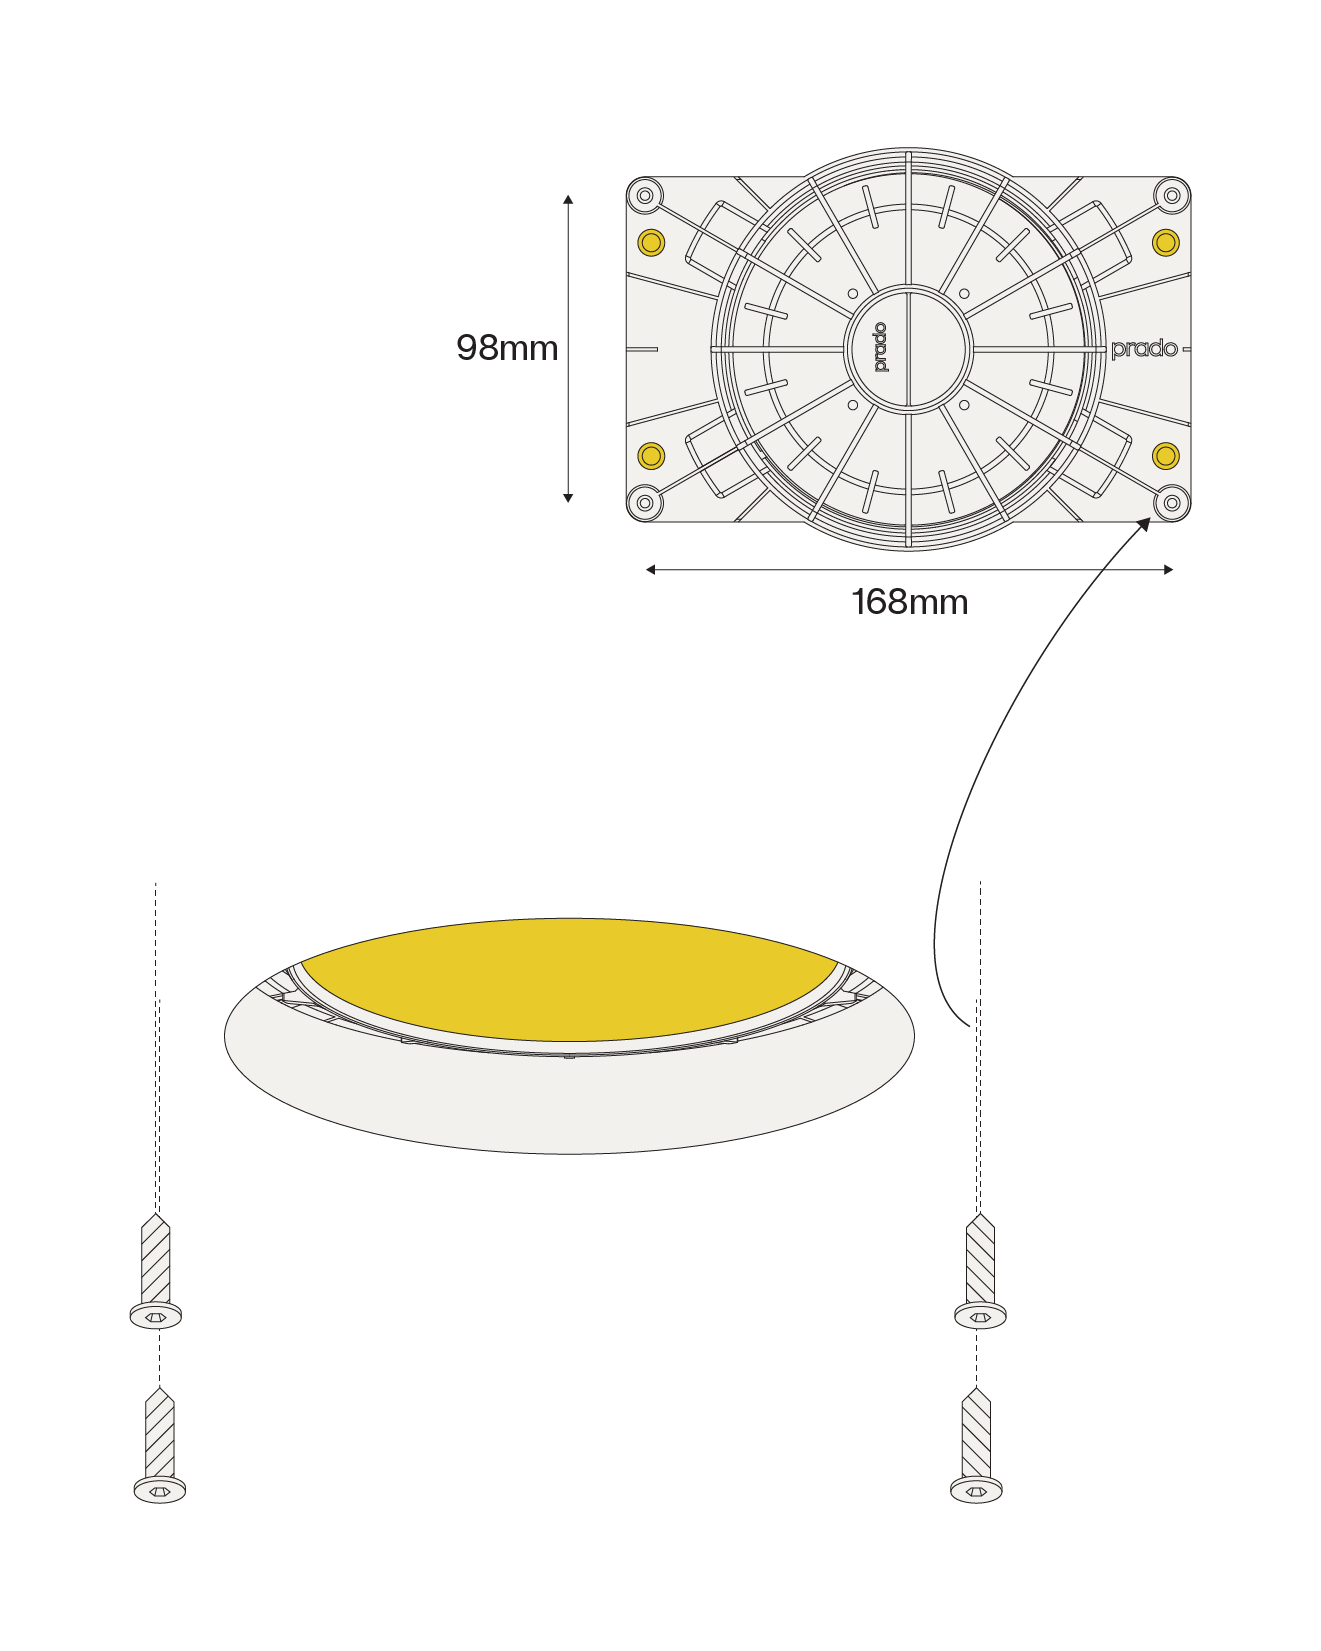
Step 1 / 8

Cut a round hole (Ø132). Consult the chosen luminaire tech specs for required height and free air dimensions.
Step 2 / 8
Insert the plaster ring and securely fasten it with glue or the appropriate screws on a screwfast surface. The attachment must be able to obtain a static load of 5kg. It’s the installers responsability to ensure optimal attachment.
Step 3 / 8
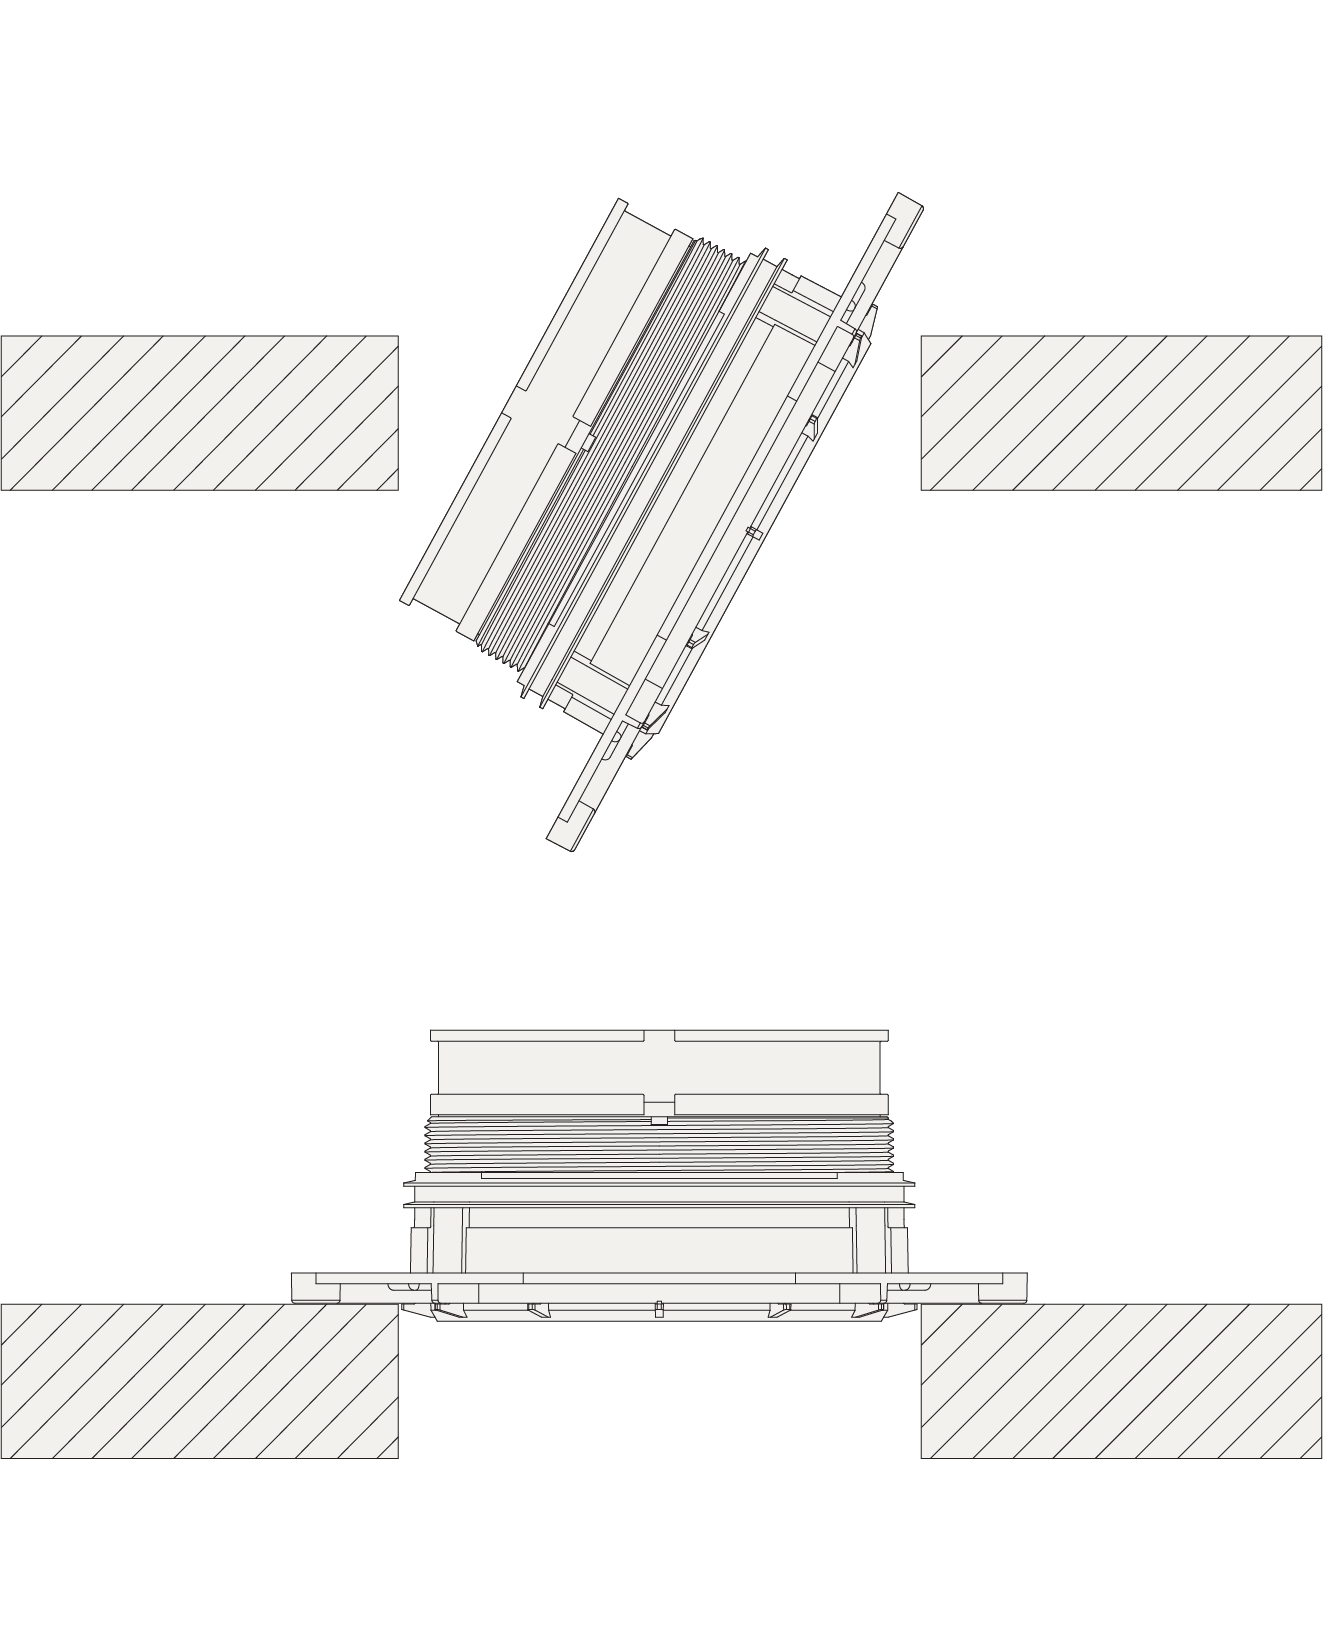
Slide the plaster ring through the Ø132 hole to install on top of the ceiling.
Step 4 / 8
Securely fasten the plaster ring with the appropriate screws on a screwfast surface.
Step 5 / 8
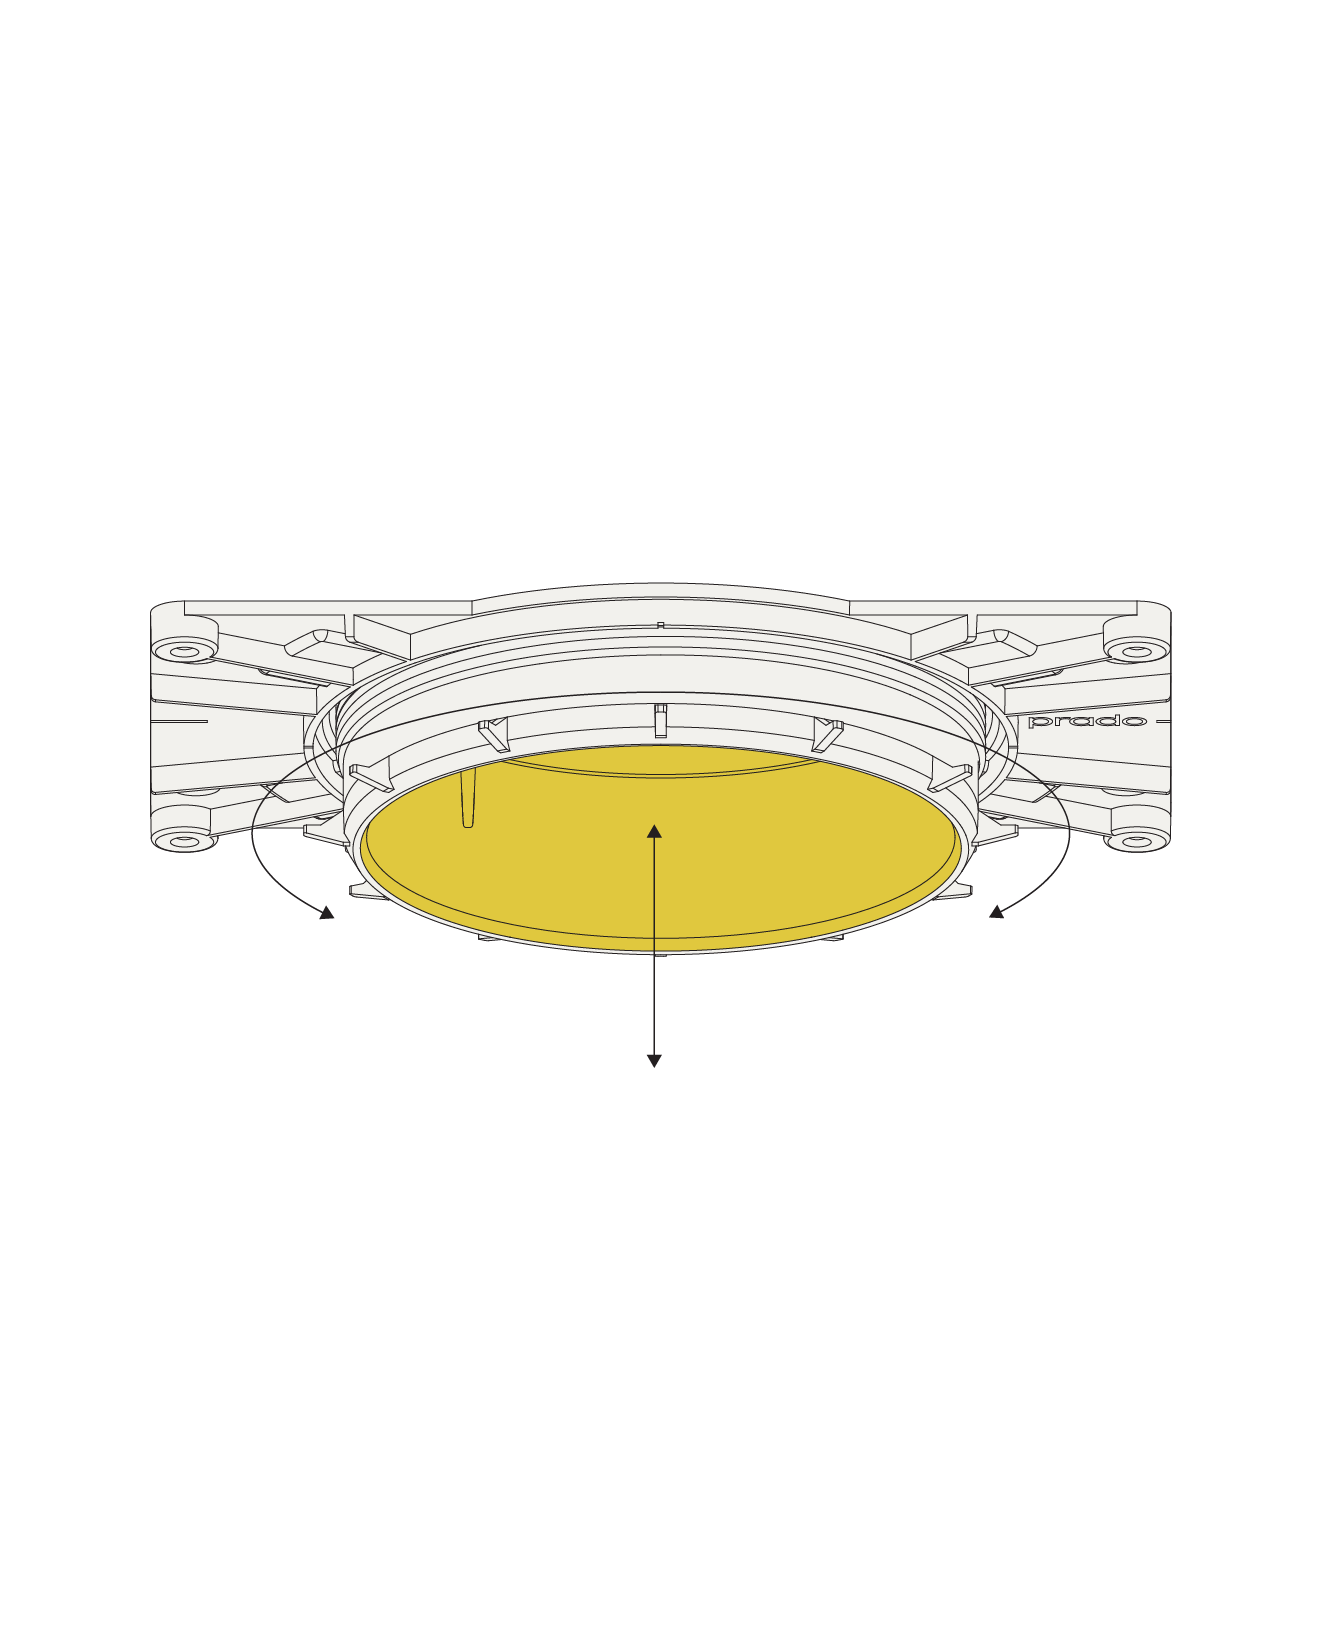
Adjust the height of the plaster ring by twisting the bottom part.
Step 6 / 8
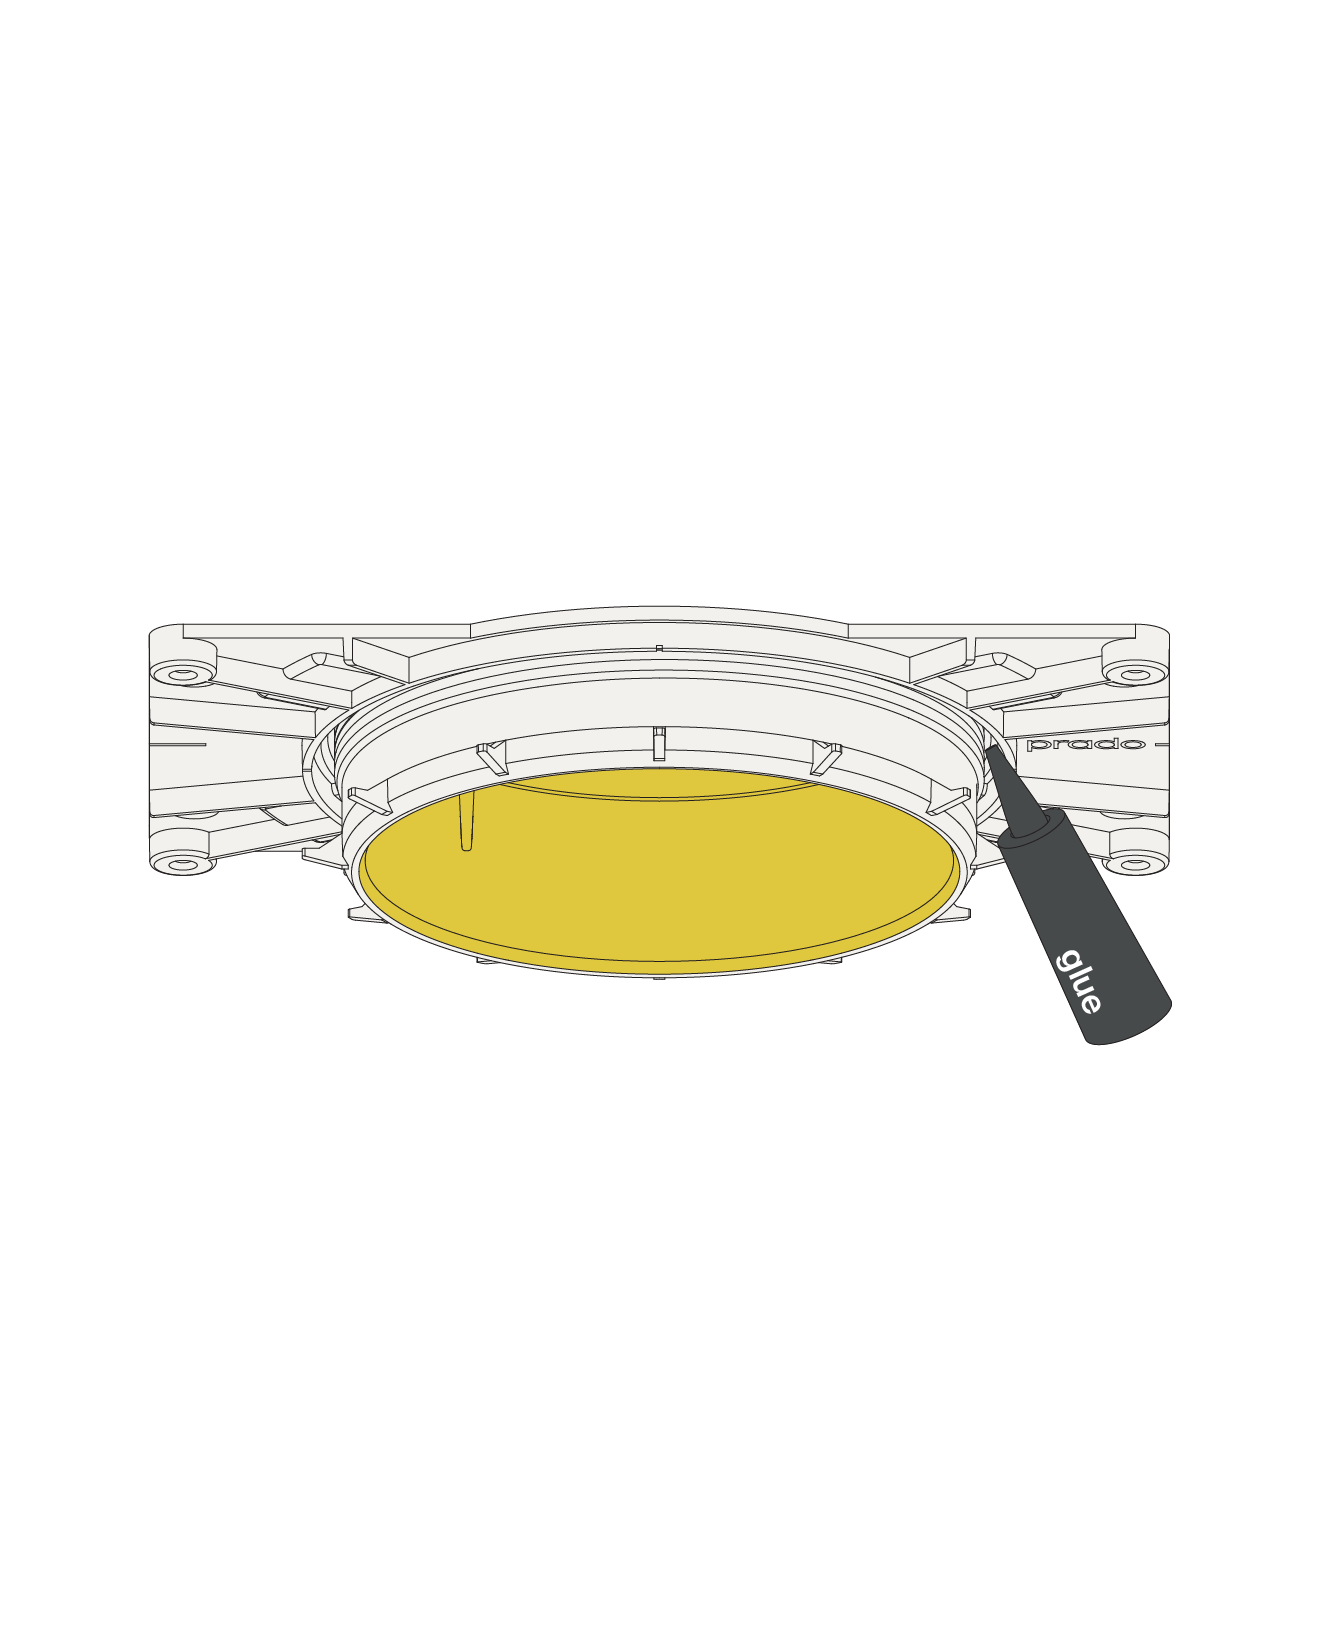
Lock the plaster ring with the right glue.
Step 7 / 8

Excercise caution while plasering, do not damage the ring. Keep the plaster lid inside the plaster ring while plastering. Use a fiberglass mesh tape for optimal plaster adhesion. Make sure not to touch the edge of the ring when sanding.
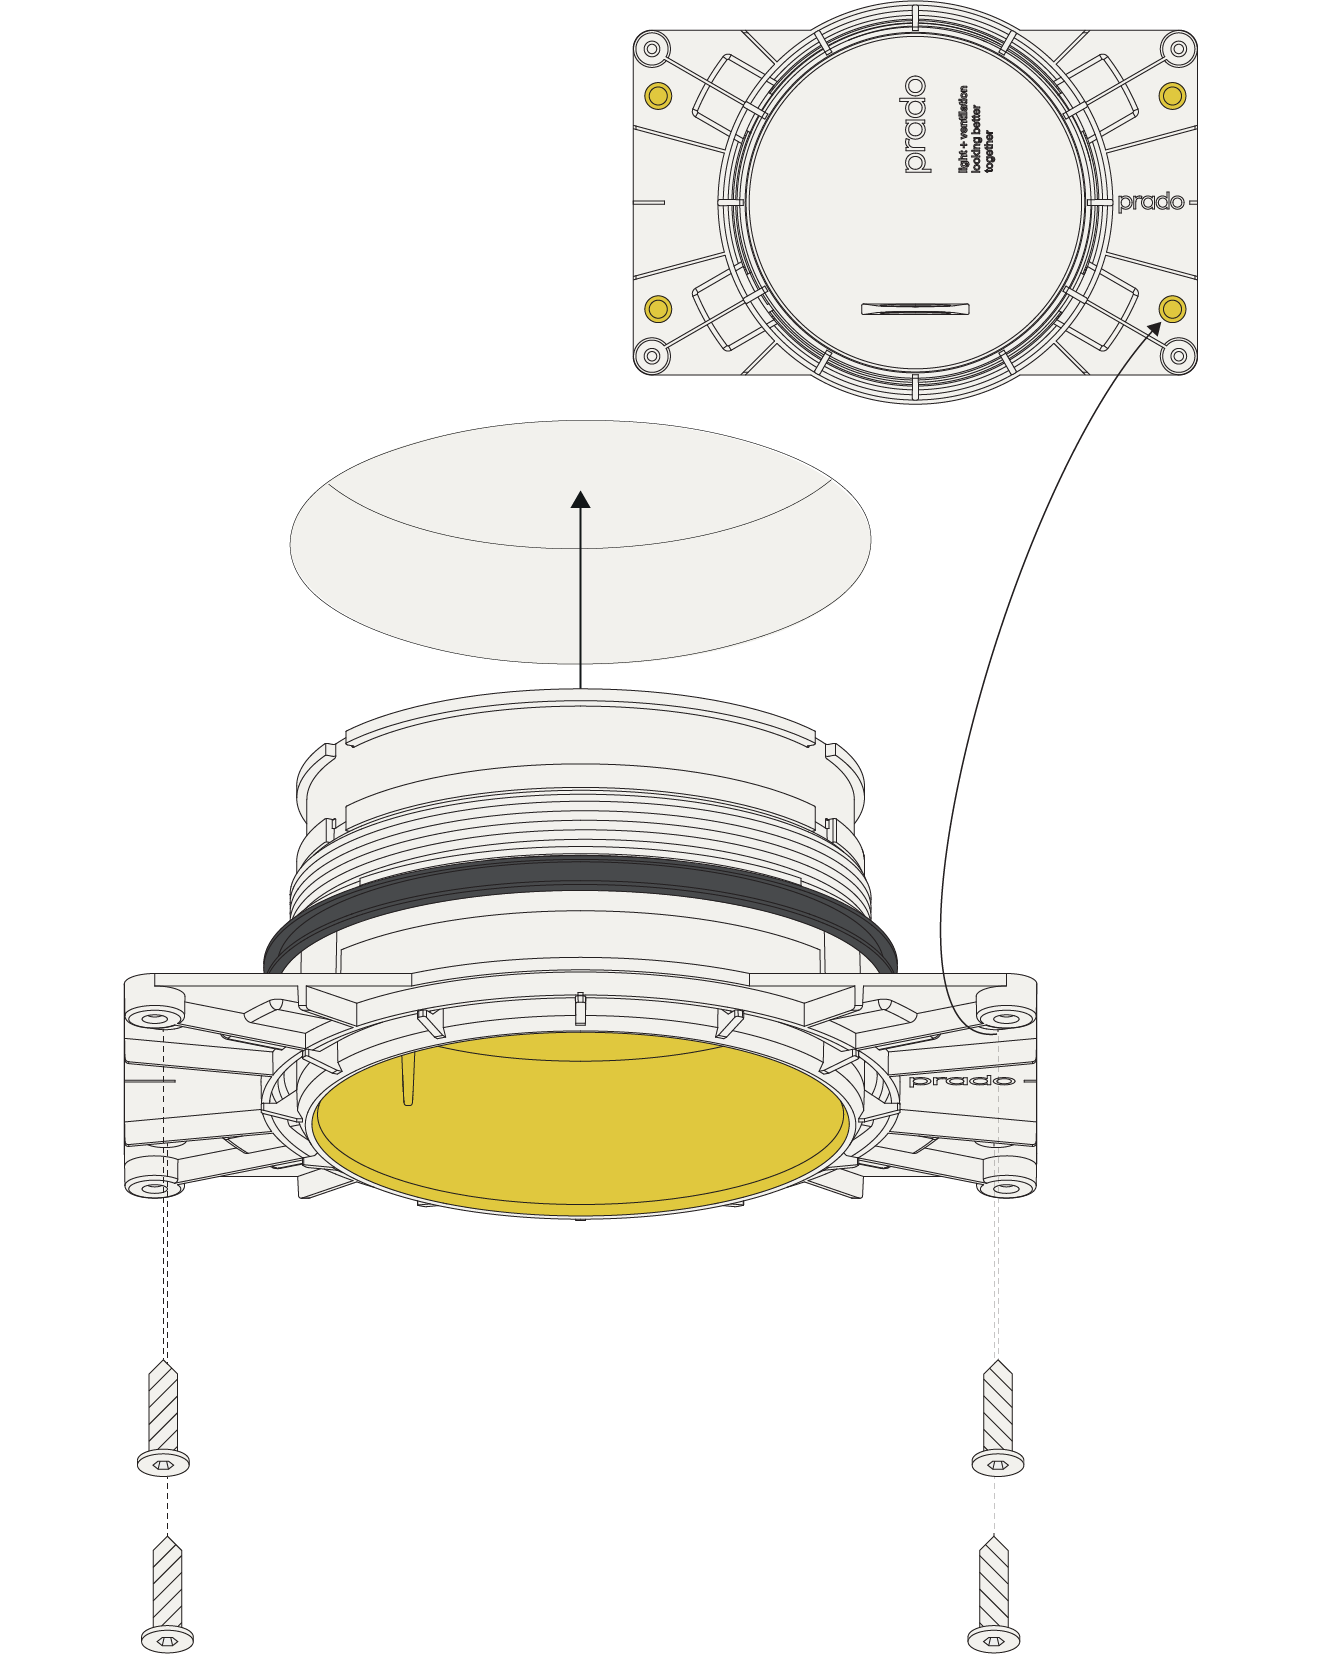
Step 8 / 8
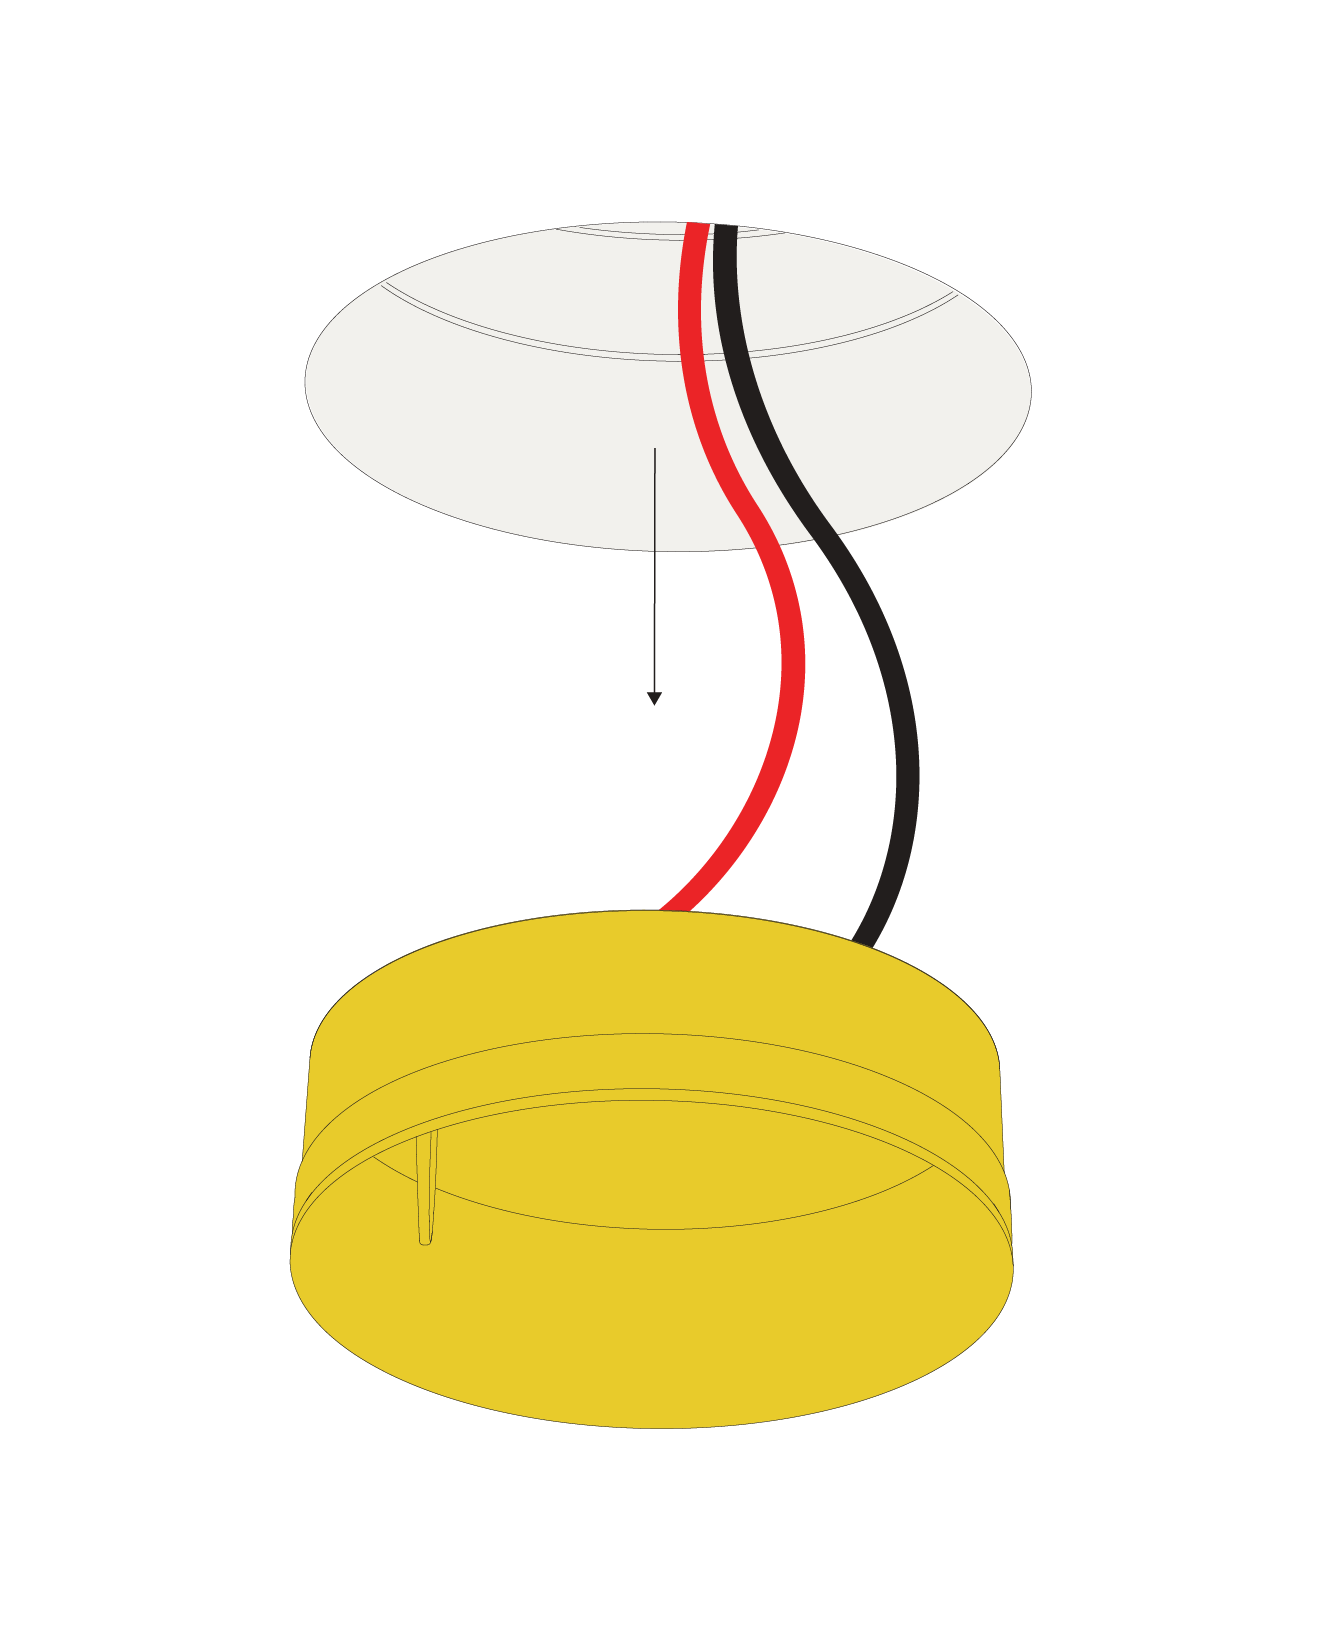
Remove the plaster lid before installing the fixture. Any residue needs to be removed without damaging the edges of the ring.
Installation must be done by skilled professionals only and instructions must be followed at all times. Warranty will not apply in case of wrongful use of if unskilled personnel attempts to repair a product.