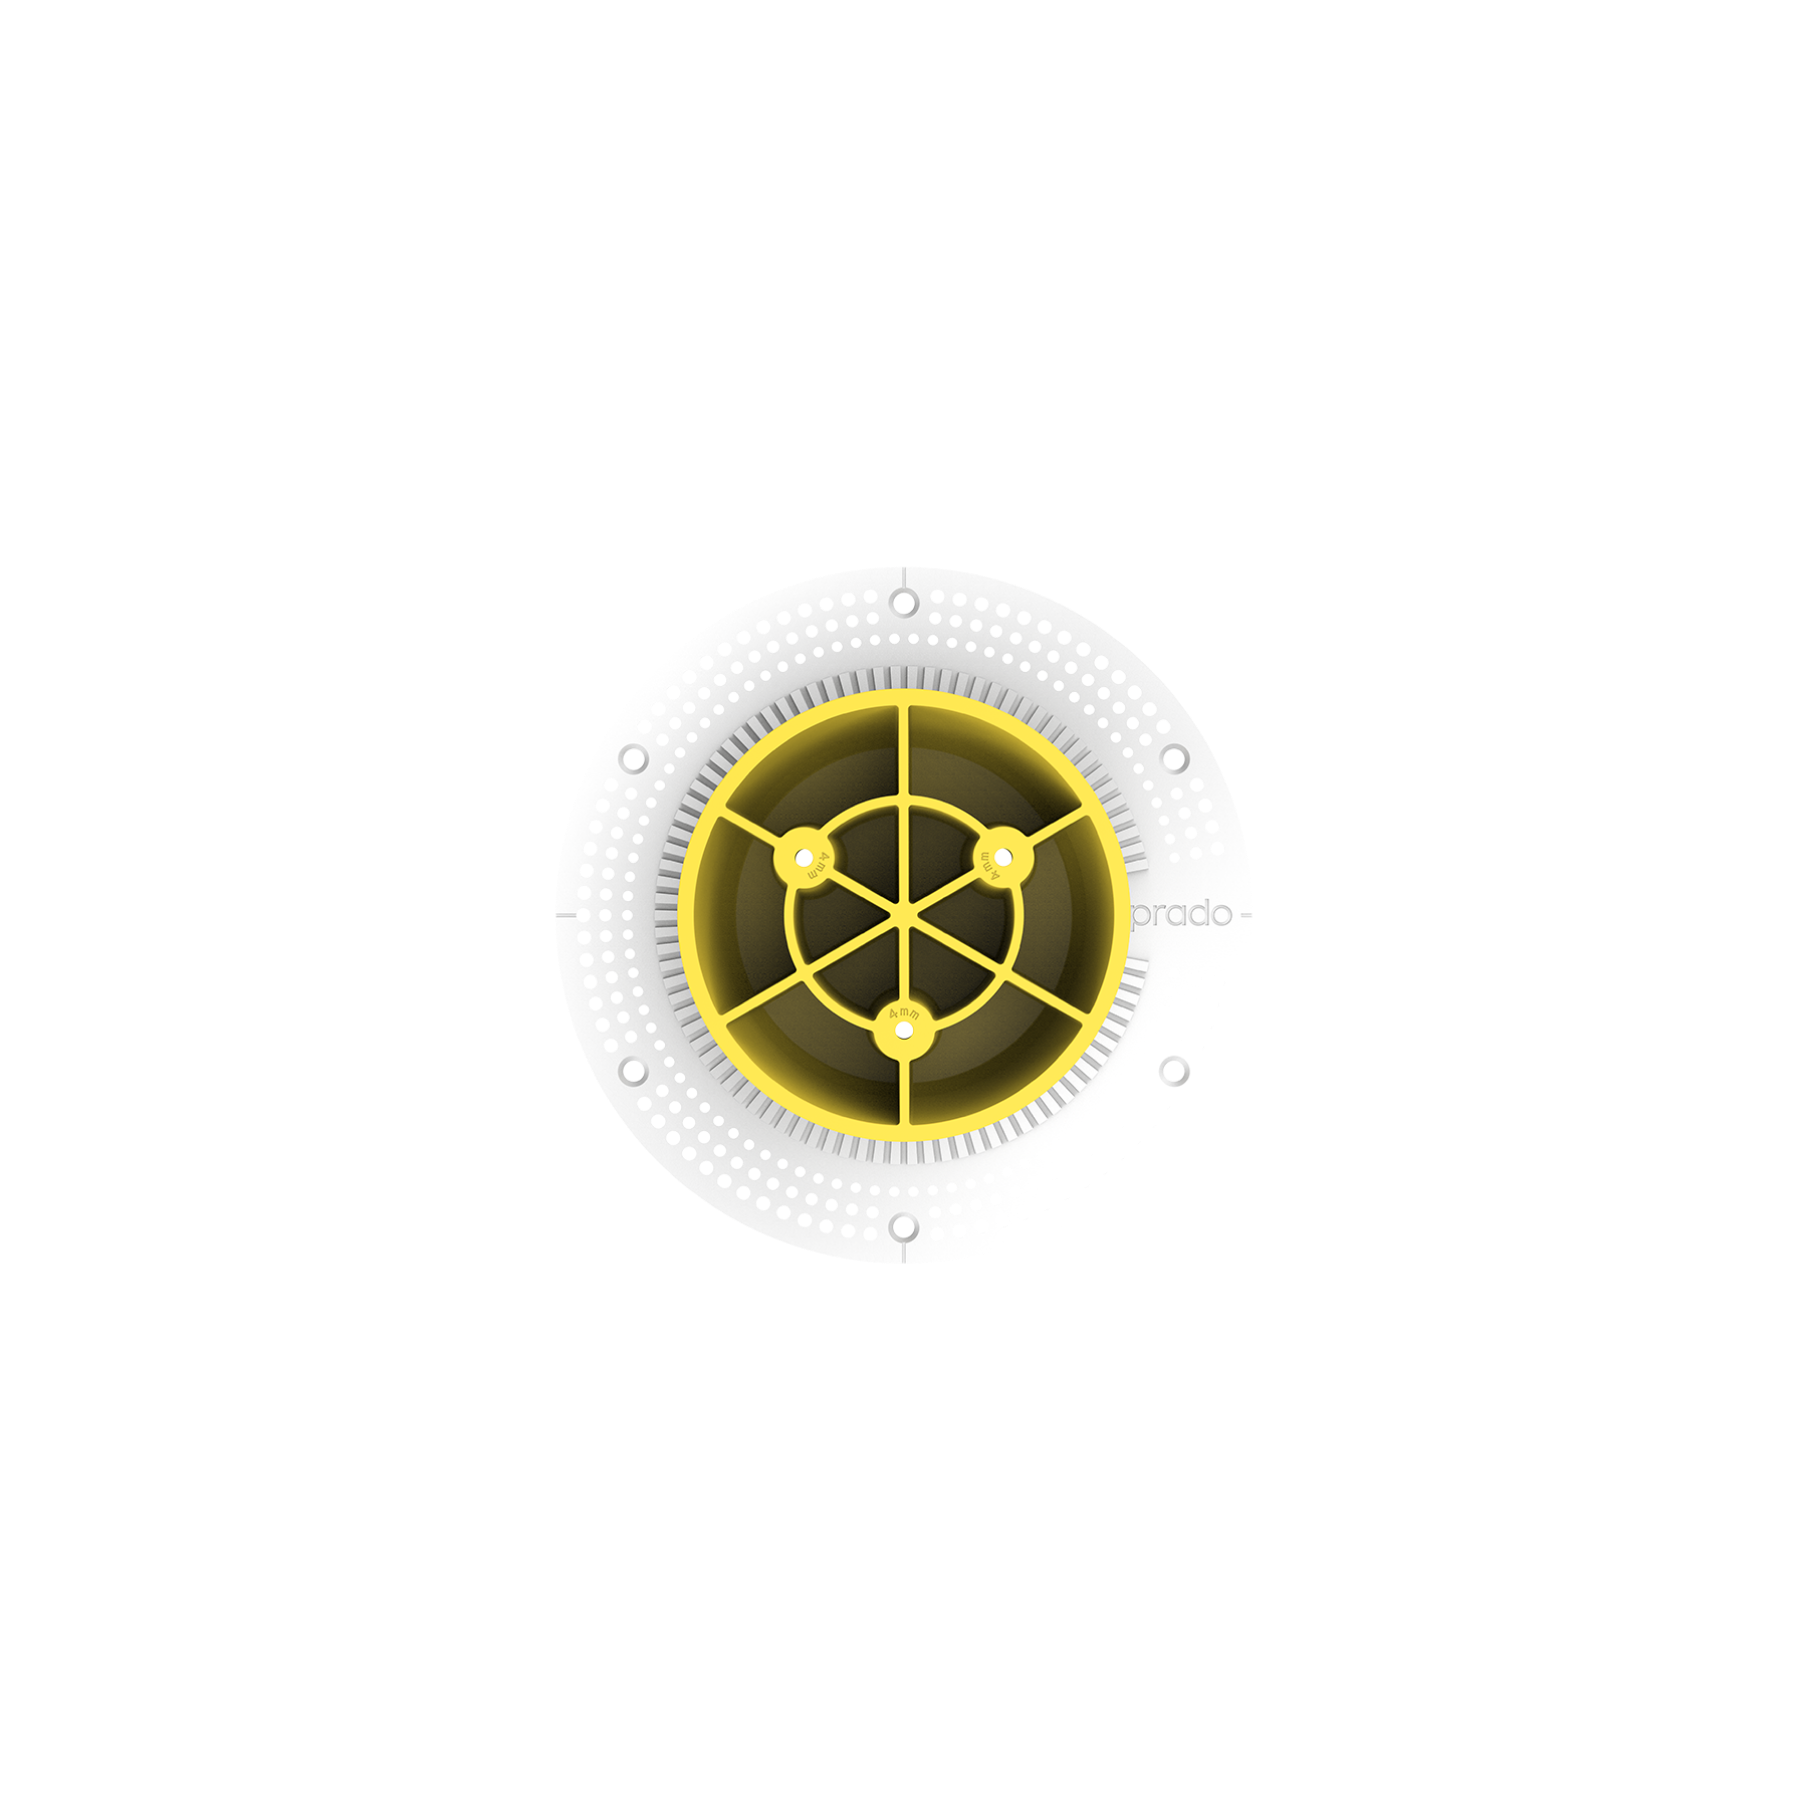
Step 1 / 8
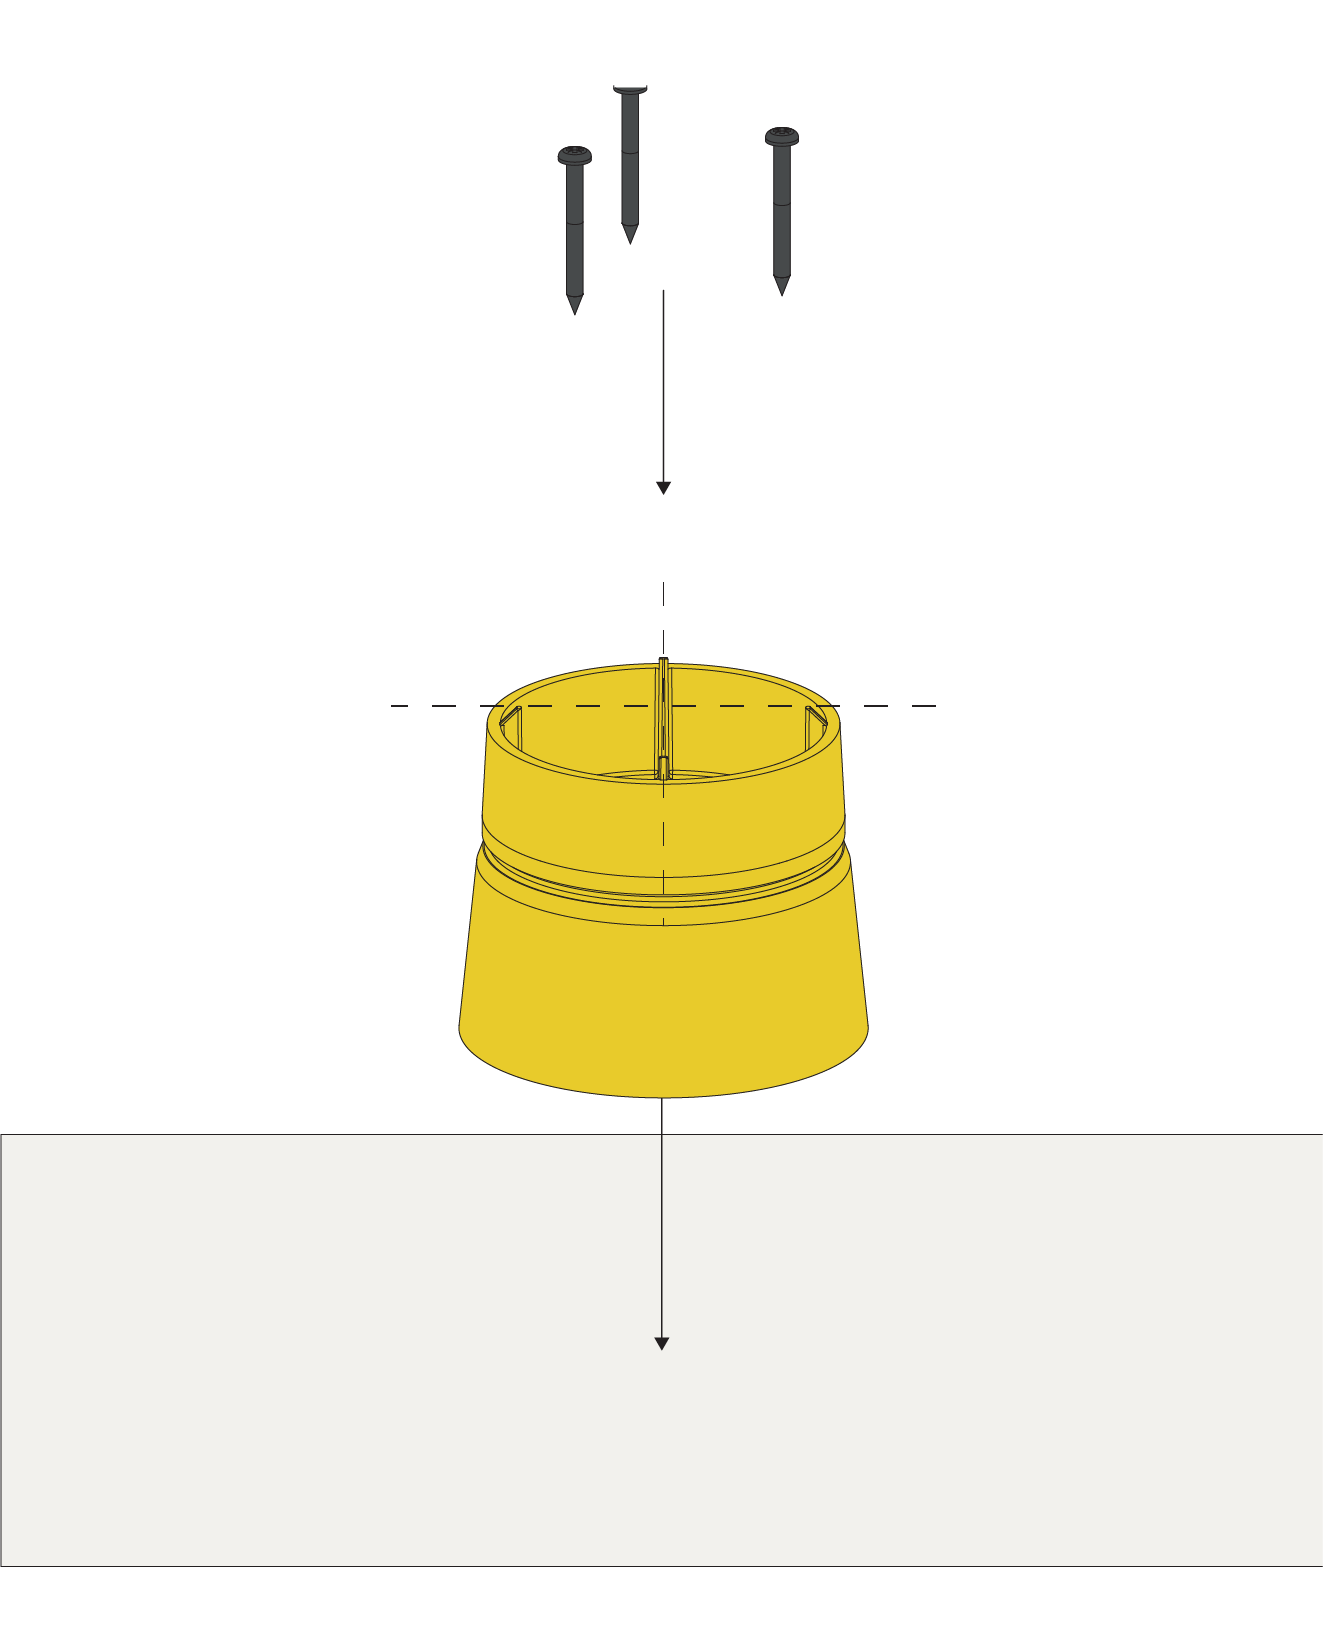
Fixate the concrete cap on the concrete casting with the appropriate screws - add concrete mold oil to the yellow cap to ensure easy removal later on.
Step 2 / 8
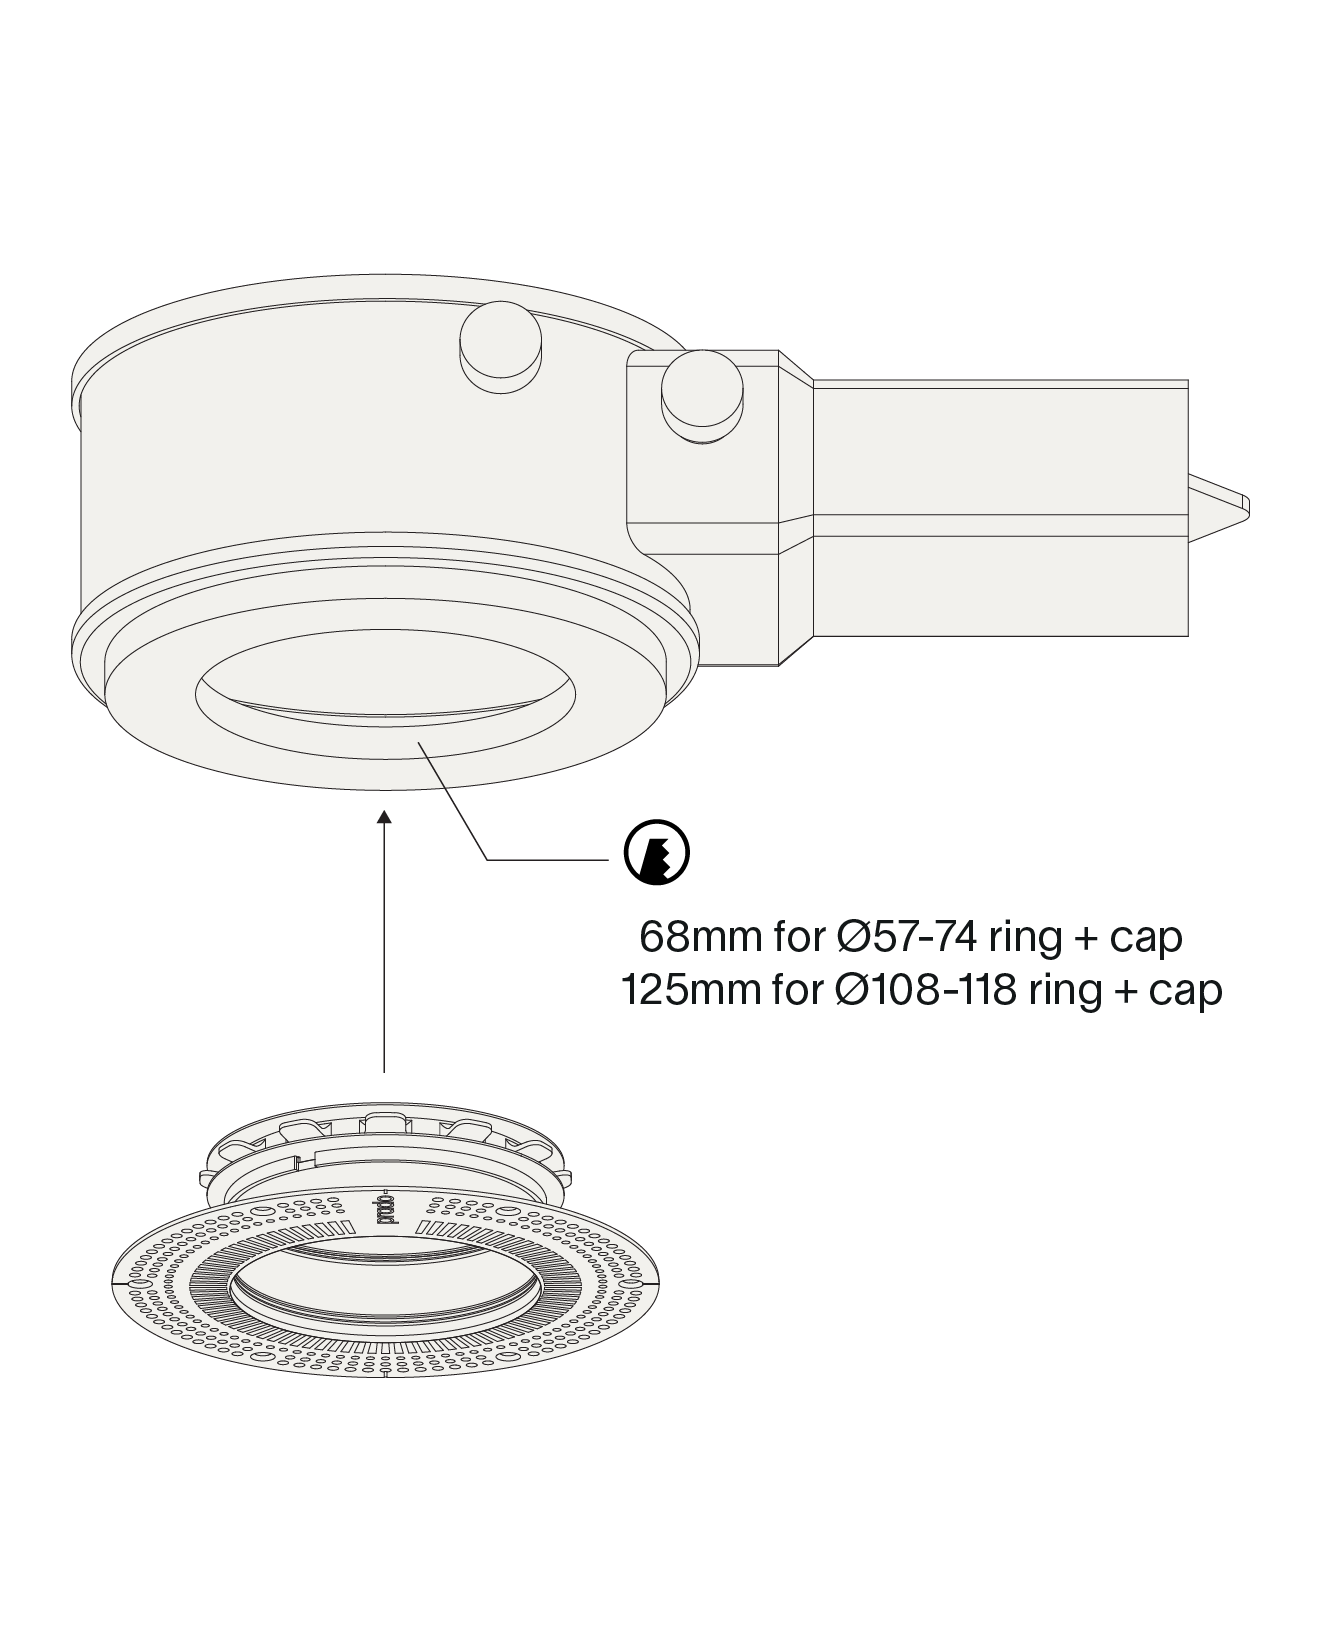
Drill a hole in the front part of the concrete box of choice and fixate the concrete ring with the appropriate screws Ø57-74 concrete ring + cap suggested parts:
- Kaiser HaloX® 100 concrete install. housing (1281-00)
- Kaiser HaloX® 100 universal front parts (1281-11)
Ø108-118 concrete ring + cap suggested parts :
- Kaiser HaloX® 180 concrete install. housing (1282-00)
- Kaiser HaloX® 180 universal front parts (1282-11)
- Kaiser HaloX® 100 concrete install. housing (1281-00)
- Kaiser HaloX® 100 universal front parts (1281-11)
Ø108-118 concrete ring + cap suggested parts :
- Kaiser HaloX® 180 concrete install. housing (1282-00)
- Kaiser HaloX® 180 universal front parts (1282-11)
Step 3 / 8
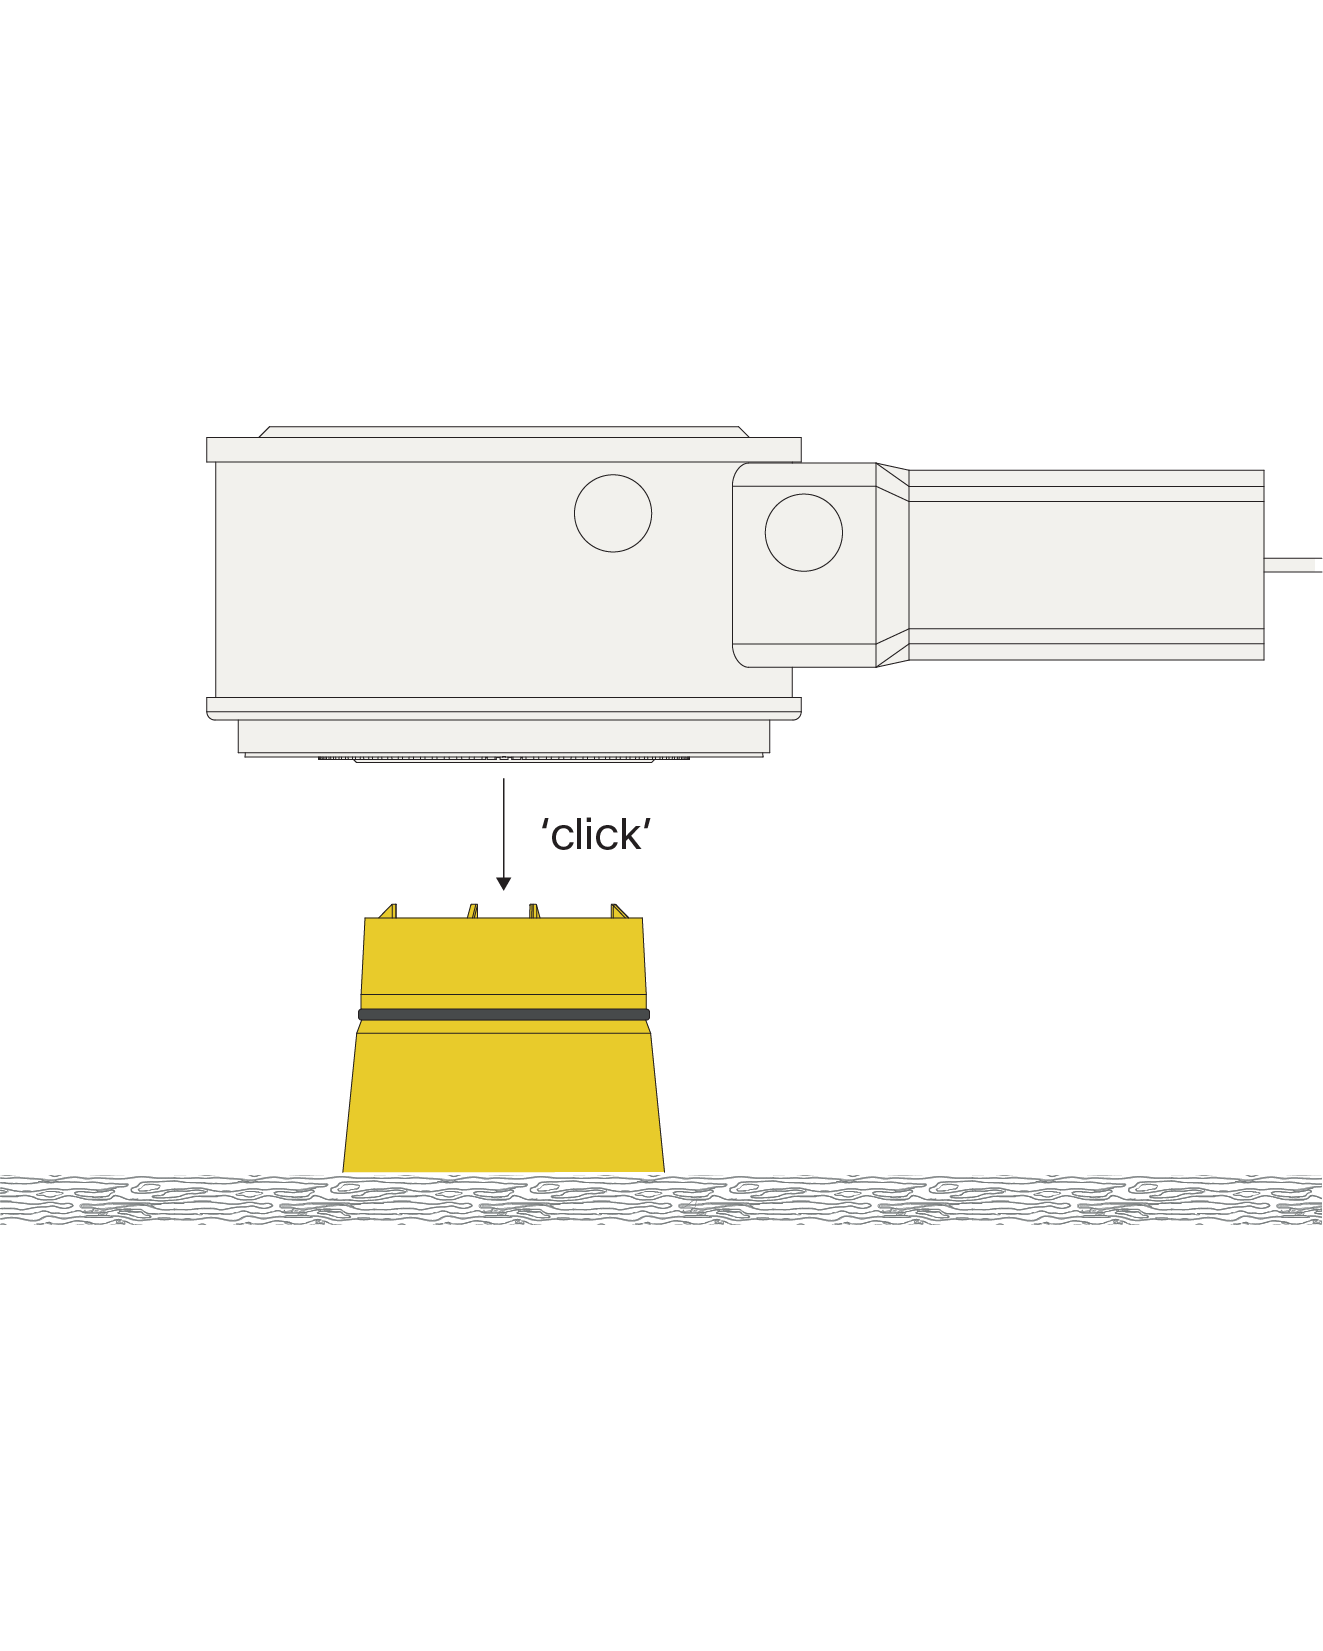
Fixate the concrete box on the concrete cap and spring.
Step 4 / 8
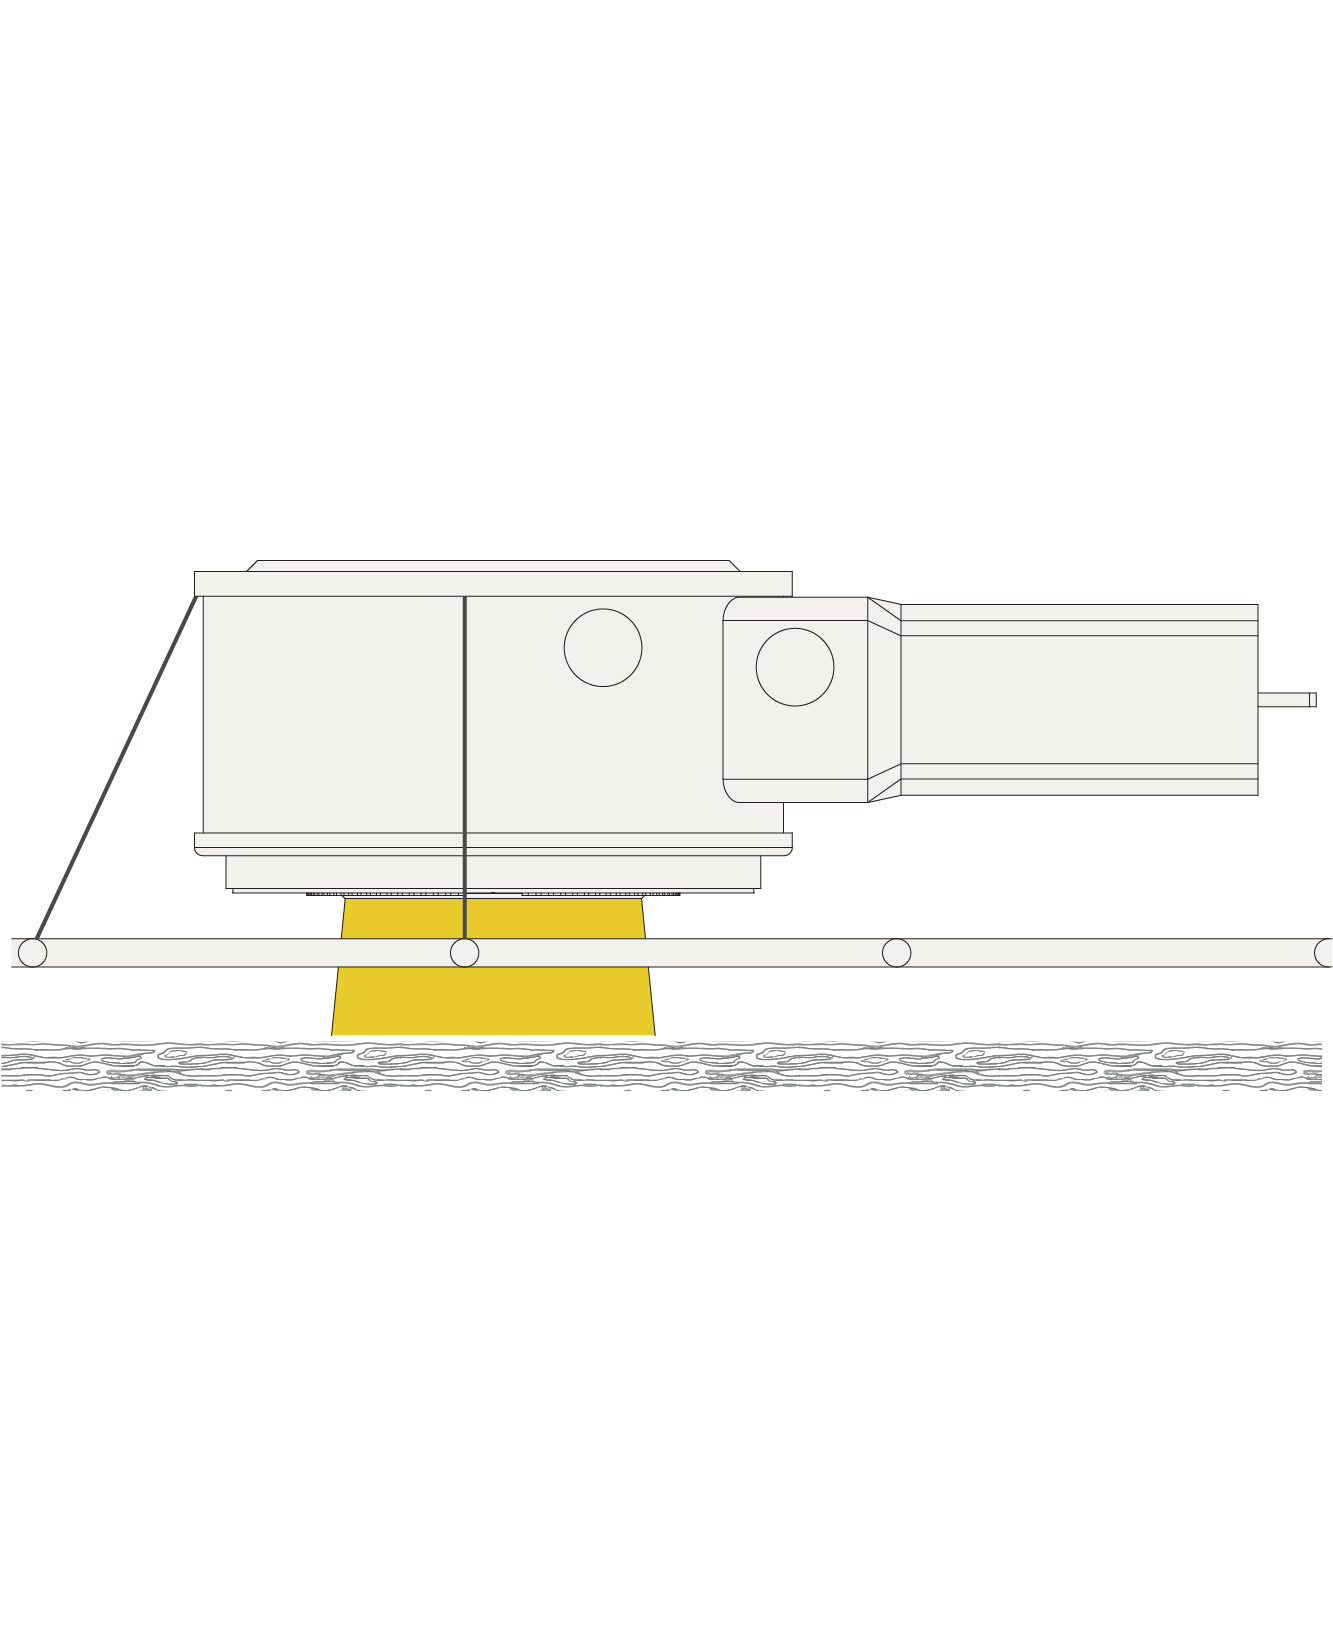
Strongly attach the concrete box to the reinforcement by means of tie wires through the tie lugs - make sure that a very strong downward pressure is applied to it.
Step 5 / 8
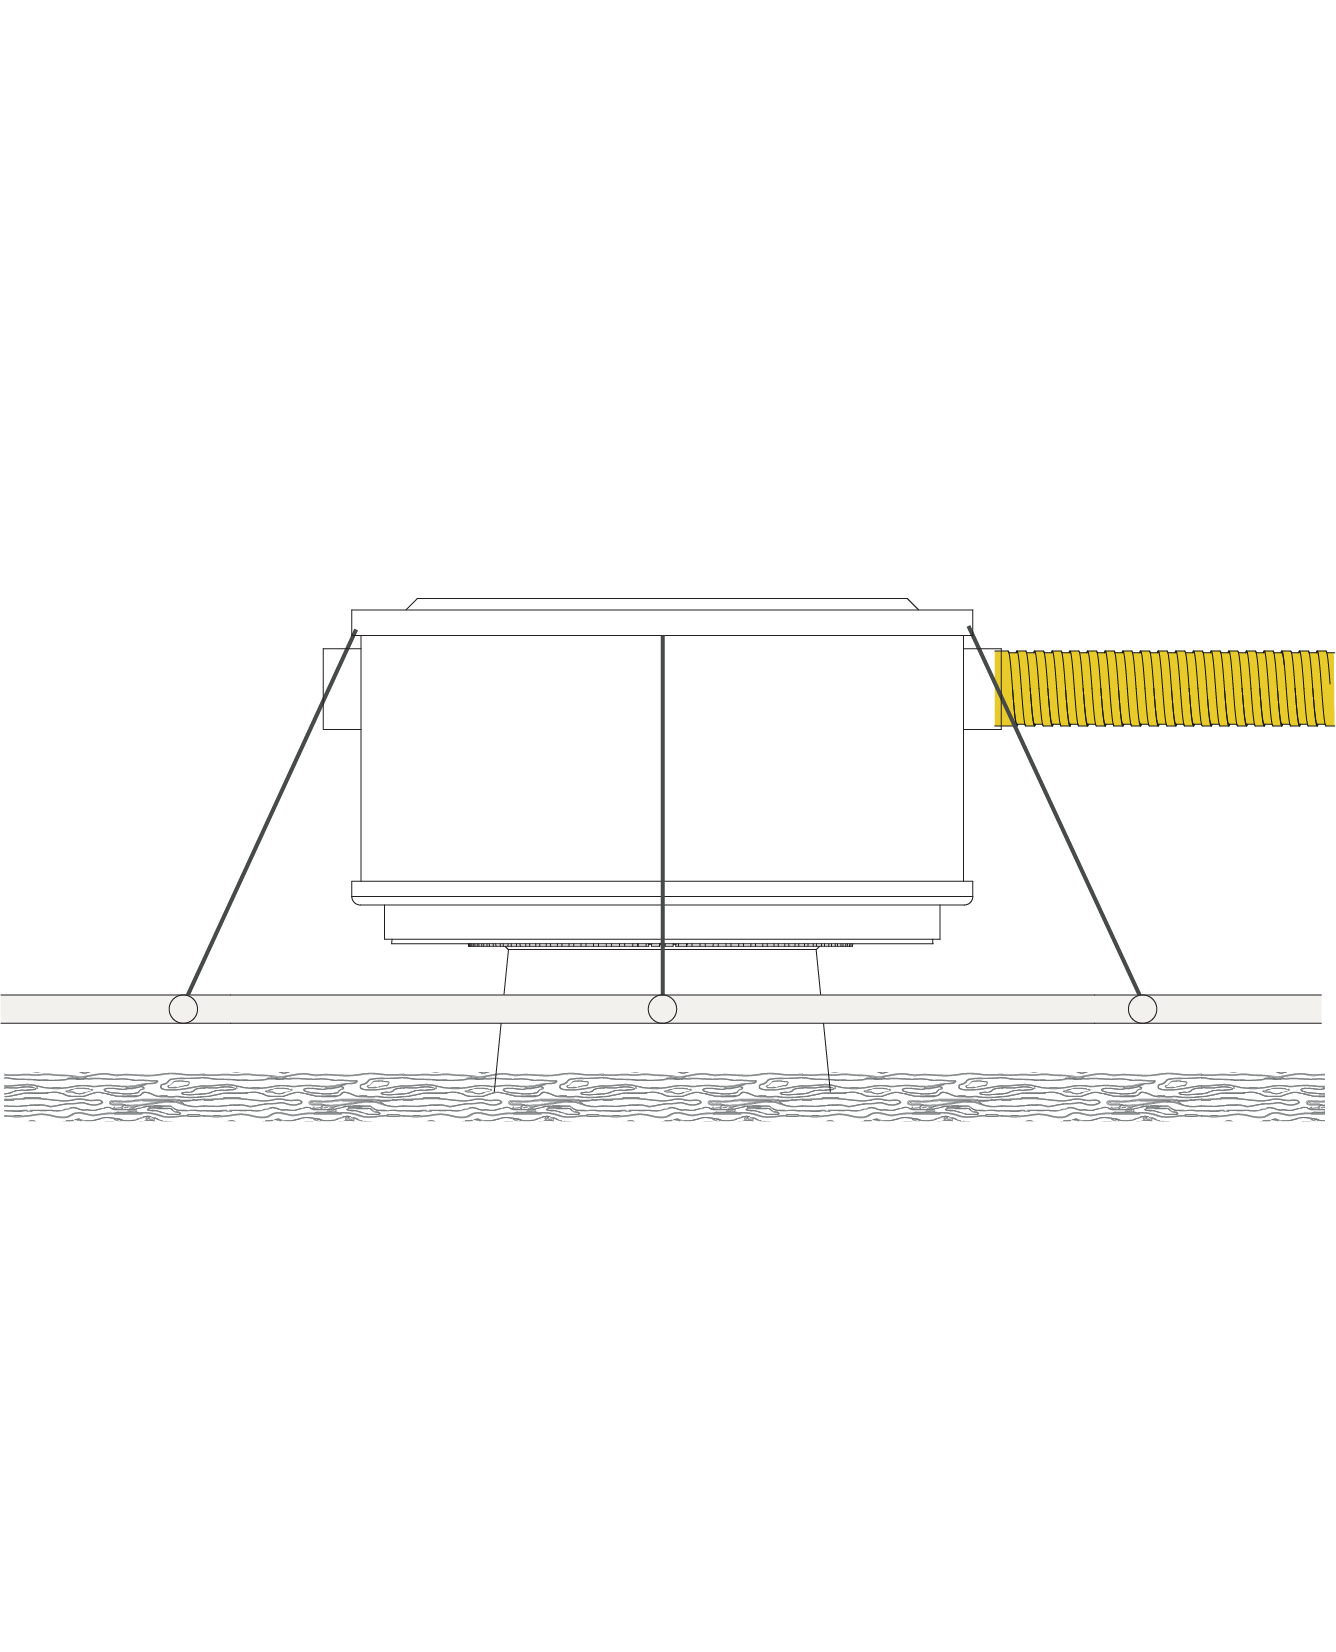
Connect the Ø16/20 preflex and the concrete box make sure to add 300mm of wire into the concrete box.
Step 6 / 8
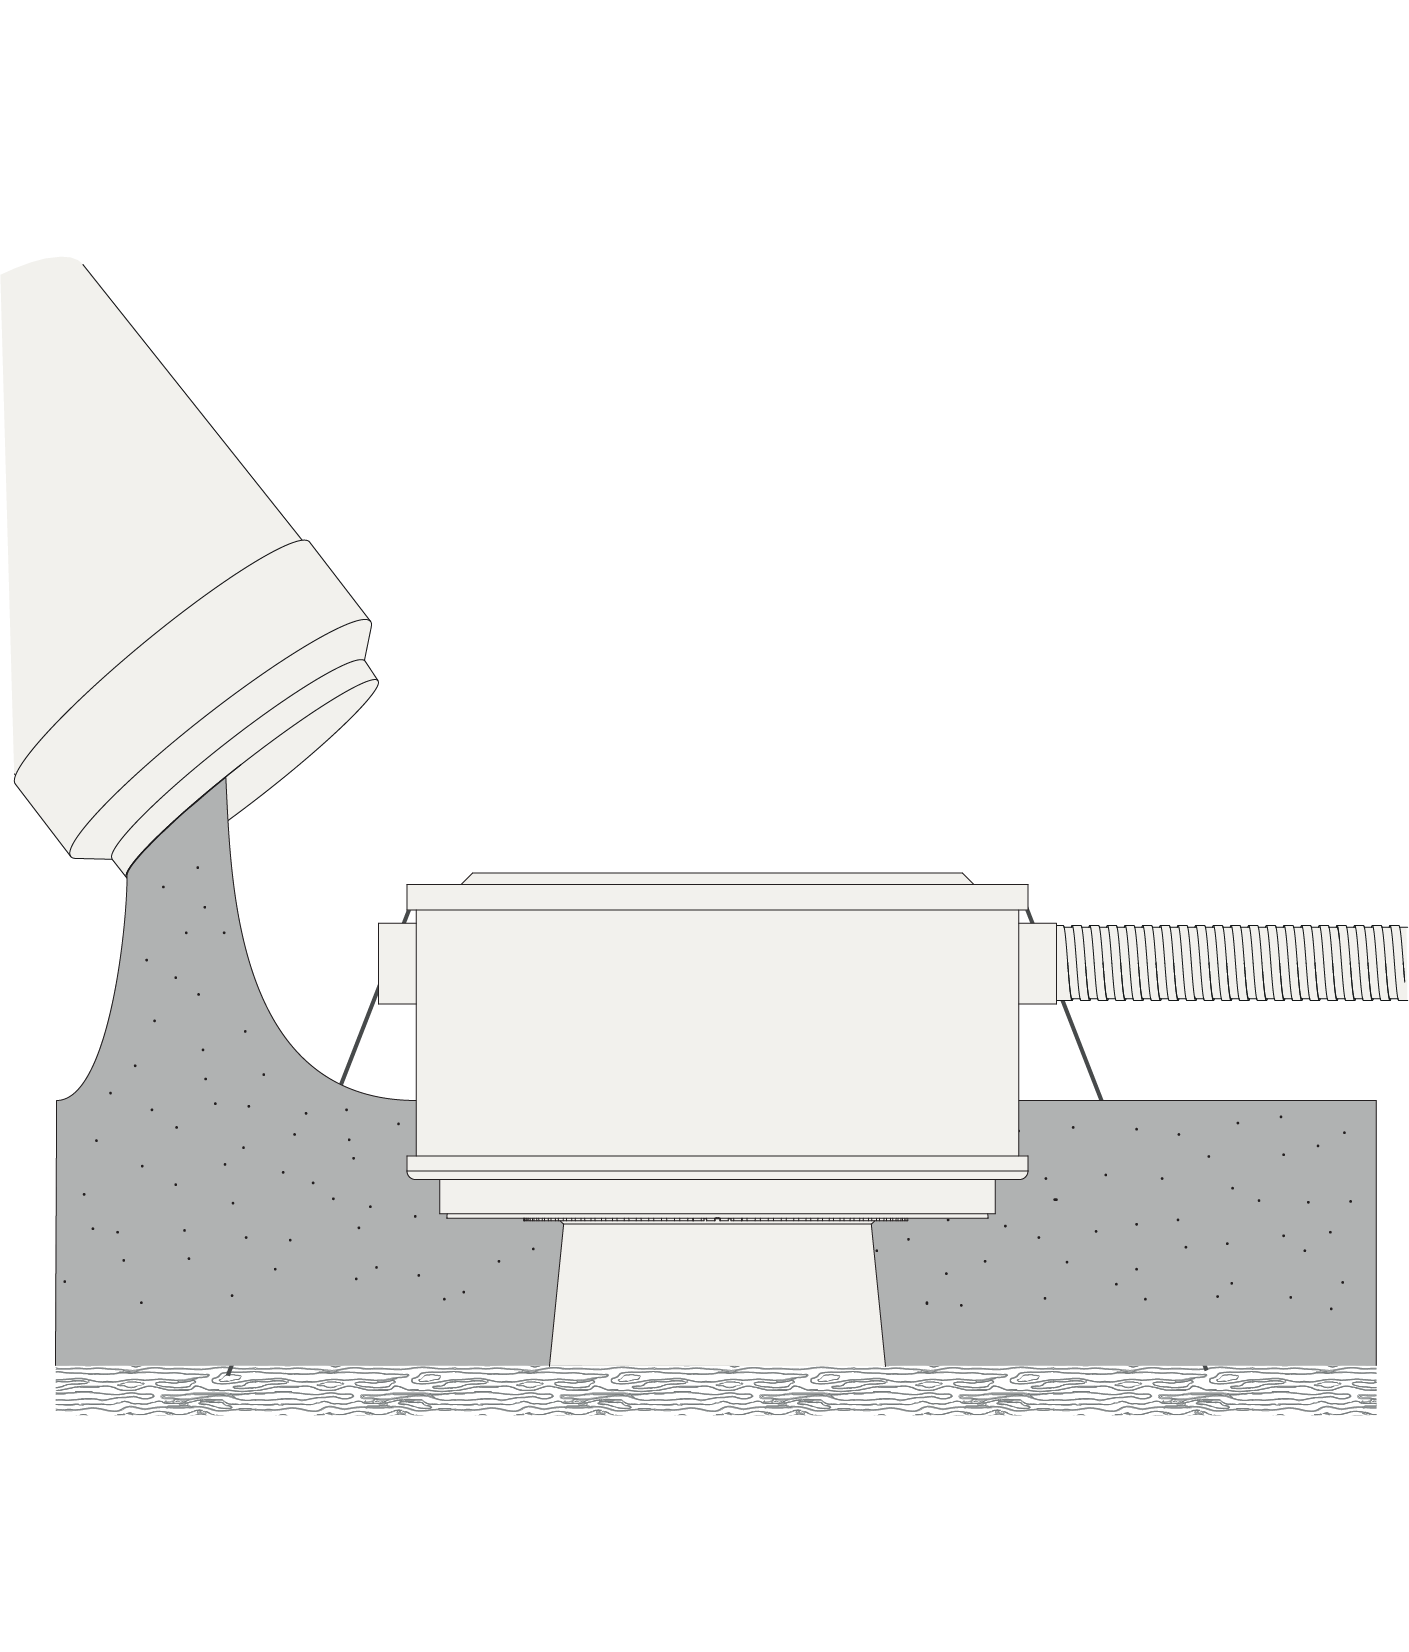
Pour the concrete without lifting up the concrete box.
Step 7 / 8
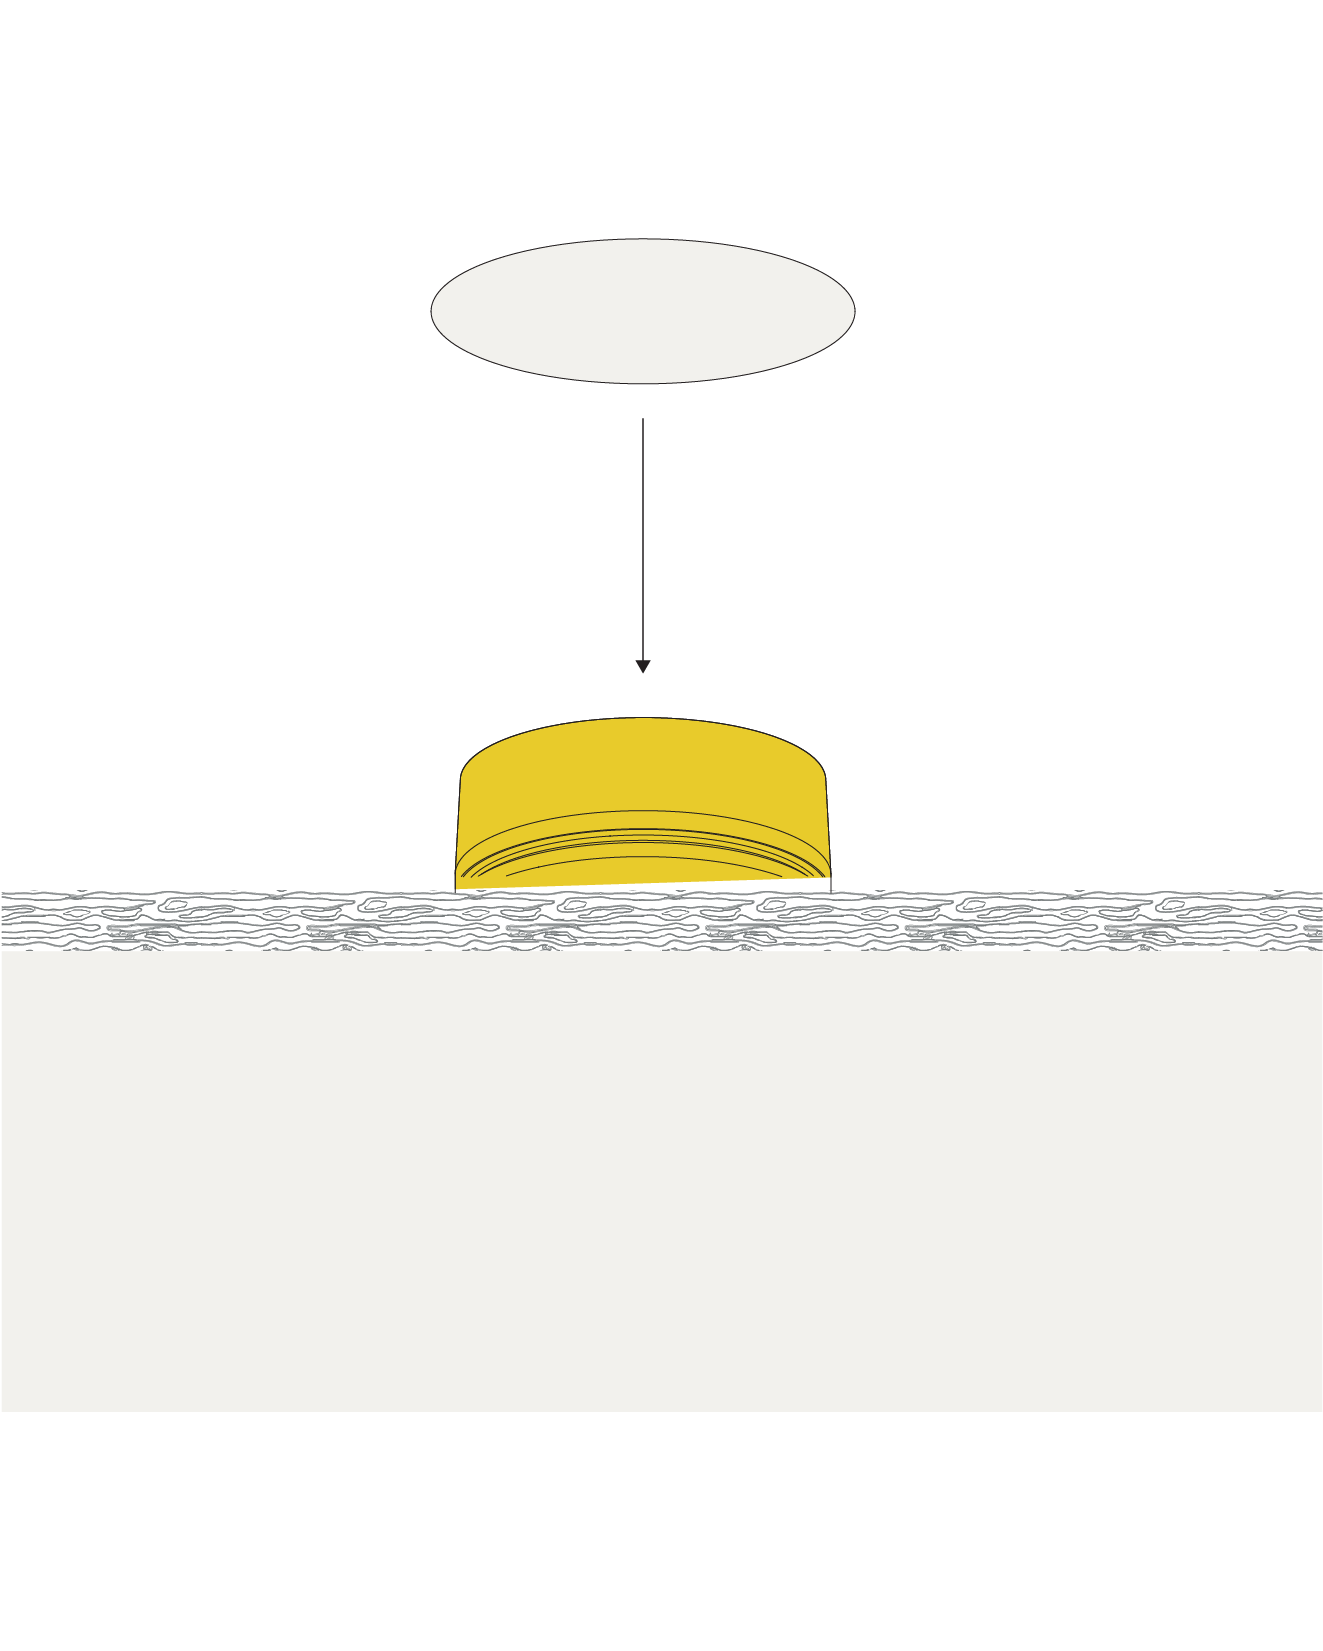
Remove the concrete cap together with the casting.
Step 8 / 8
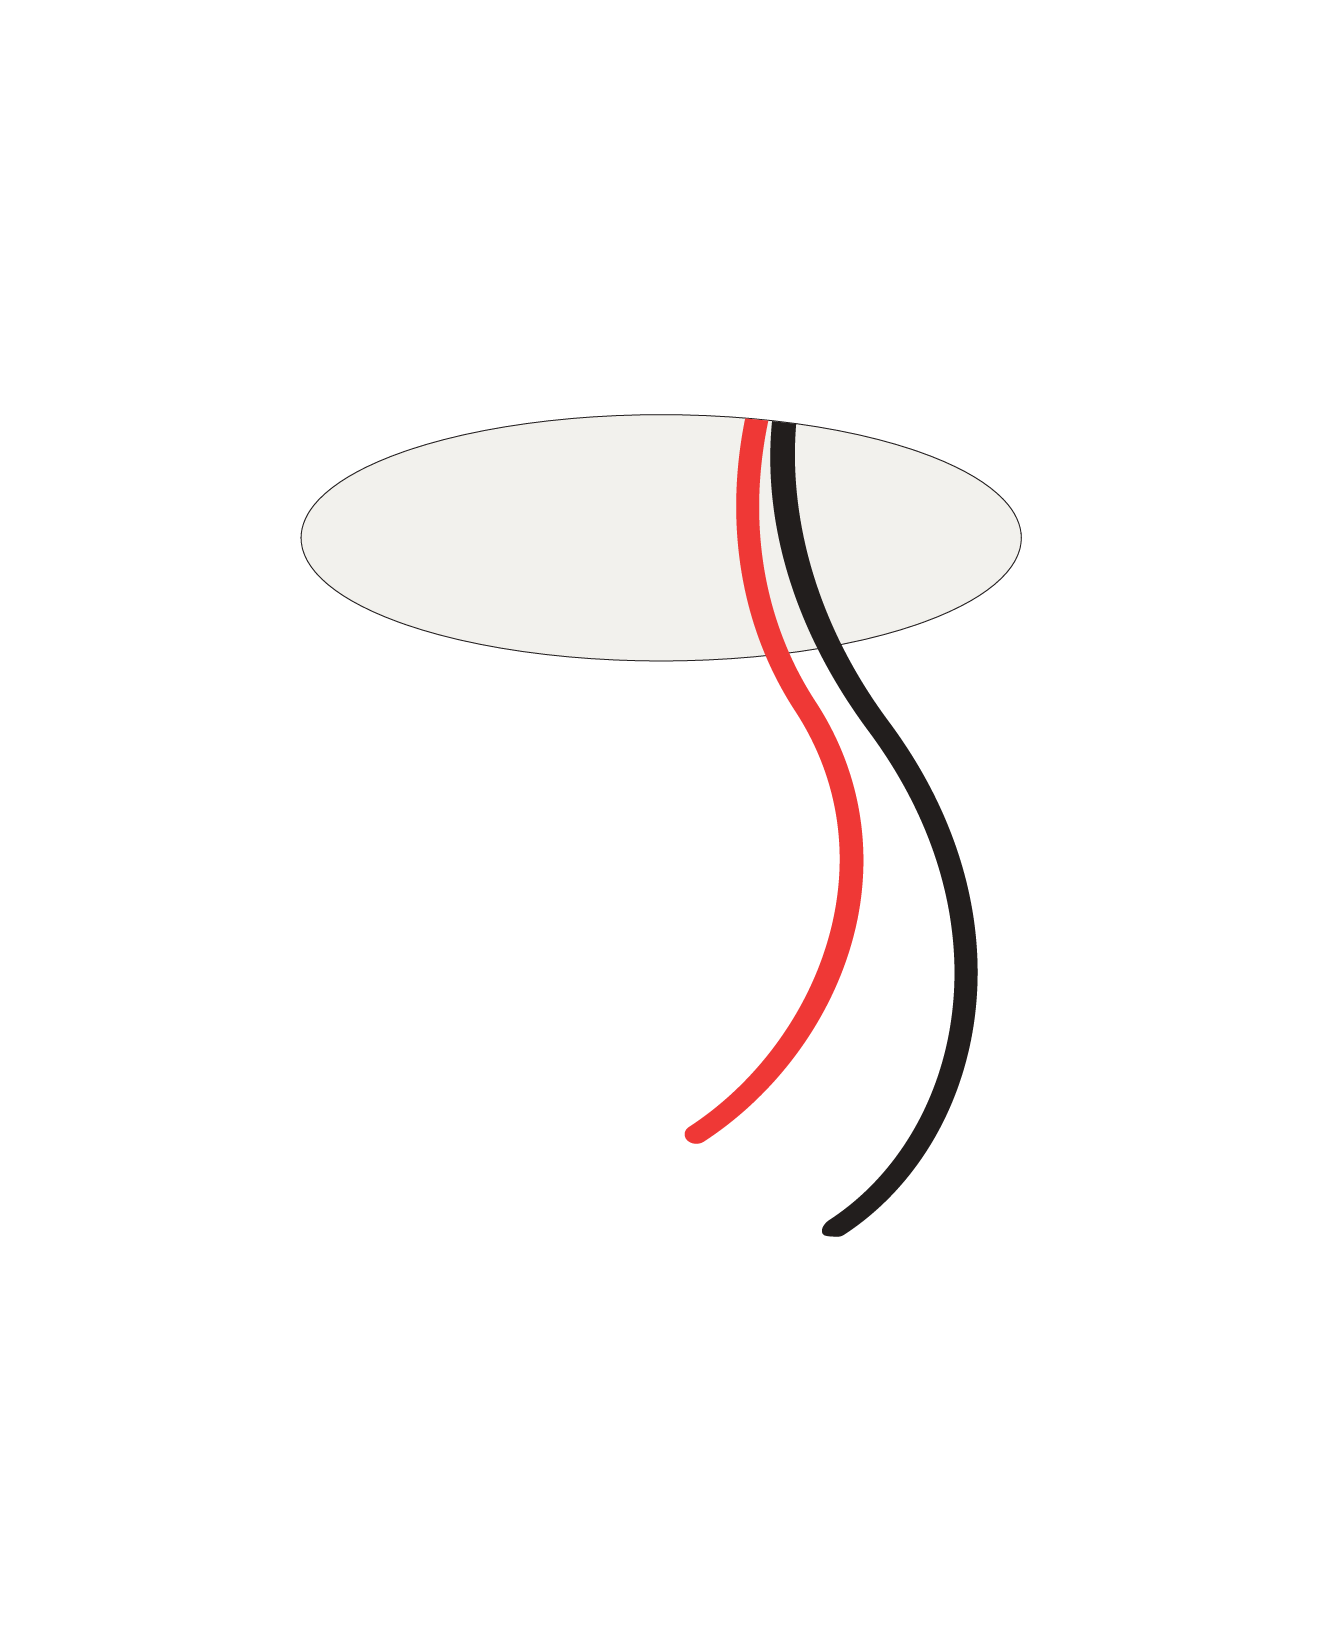
The fixture can now be installed.
Installation must be done by skilled professionals only and instructions must be followed at all times. Warranty will not apply in case of wrongful use of if unskilled personnel attempts to repair a product.

